

GREEN THUMBS UP
It’s the growing season here at The Inn, and we are taking advantage of the weather and our large garden spaces! Our hope it to grow some delicious vegetables, herbs, and produce that we can then prepare for our guests. Something about growing your own ingredients just makes the food taste even better. A huge thank you to our friendly farmers at Ard Brac Acres for providing some of the herb starters for our kitchen garden, and to Chesapeake Heirlooms for providing all of the vegetable starters for our raised beds. By taking these plants from seeds to sproutlings, they took the hard work out of the equation and now the only thing we have to do is keep the plants alive and thriving!
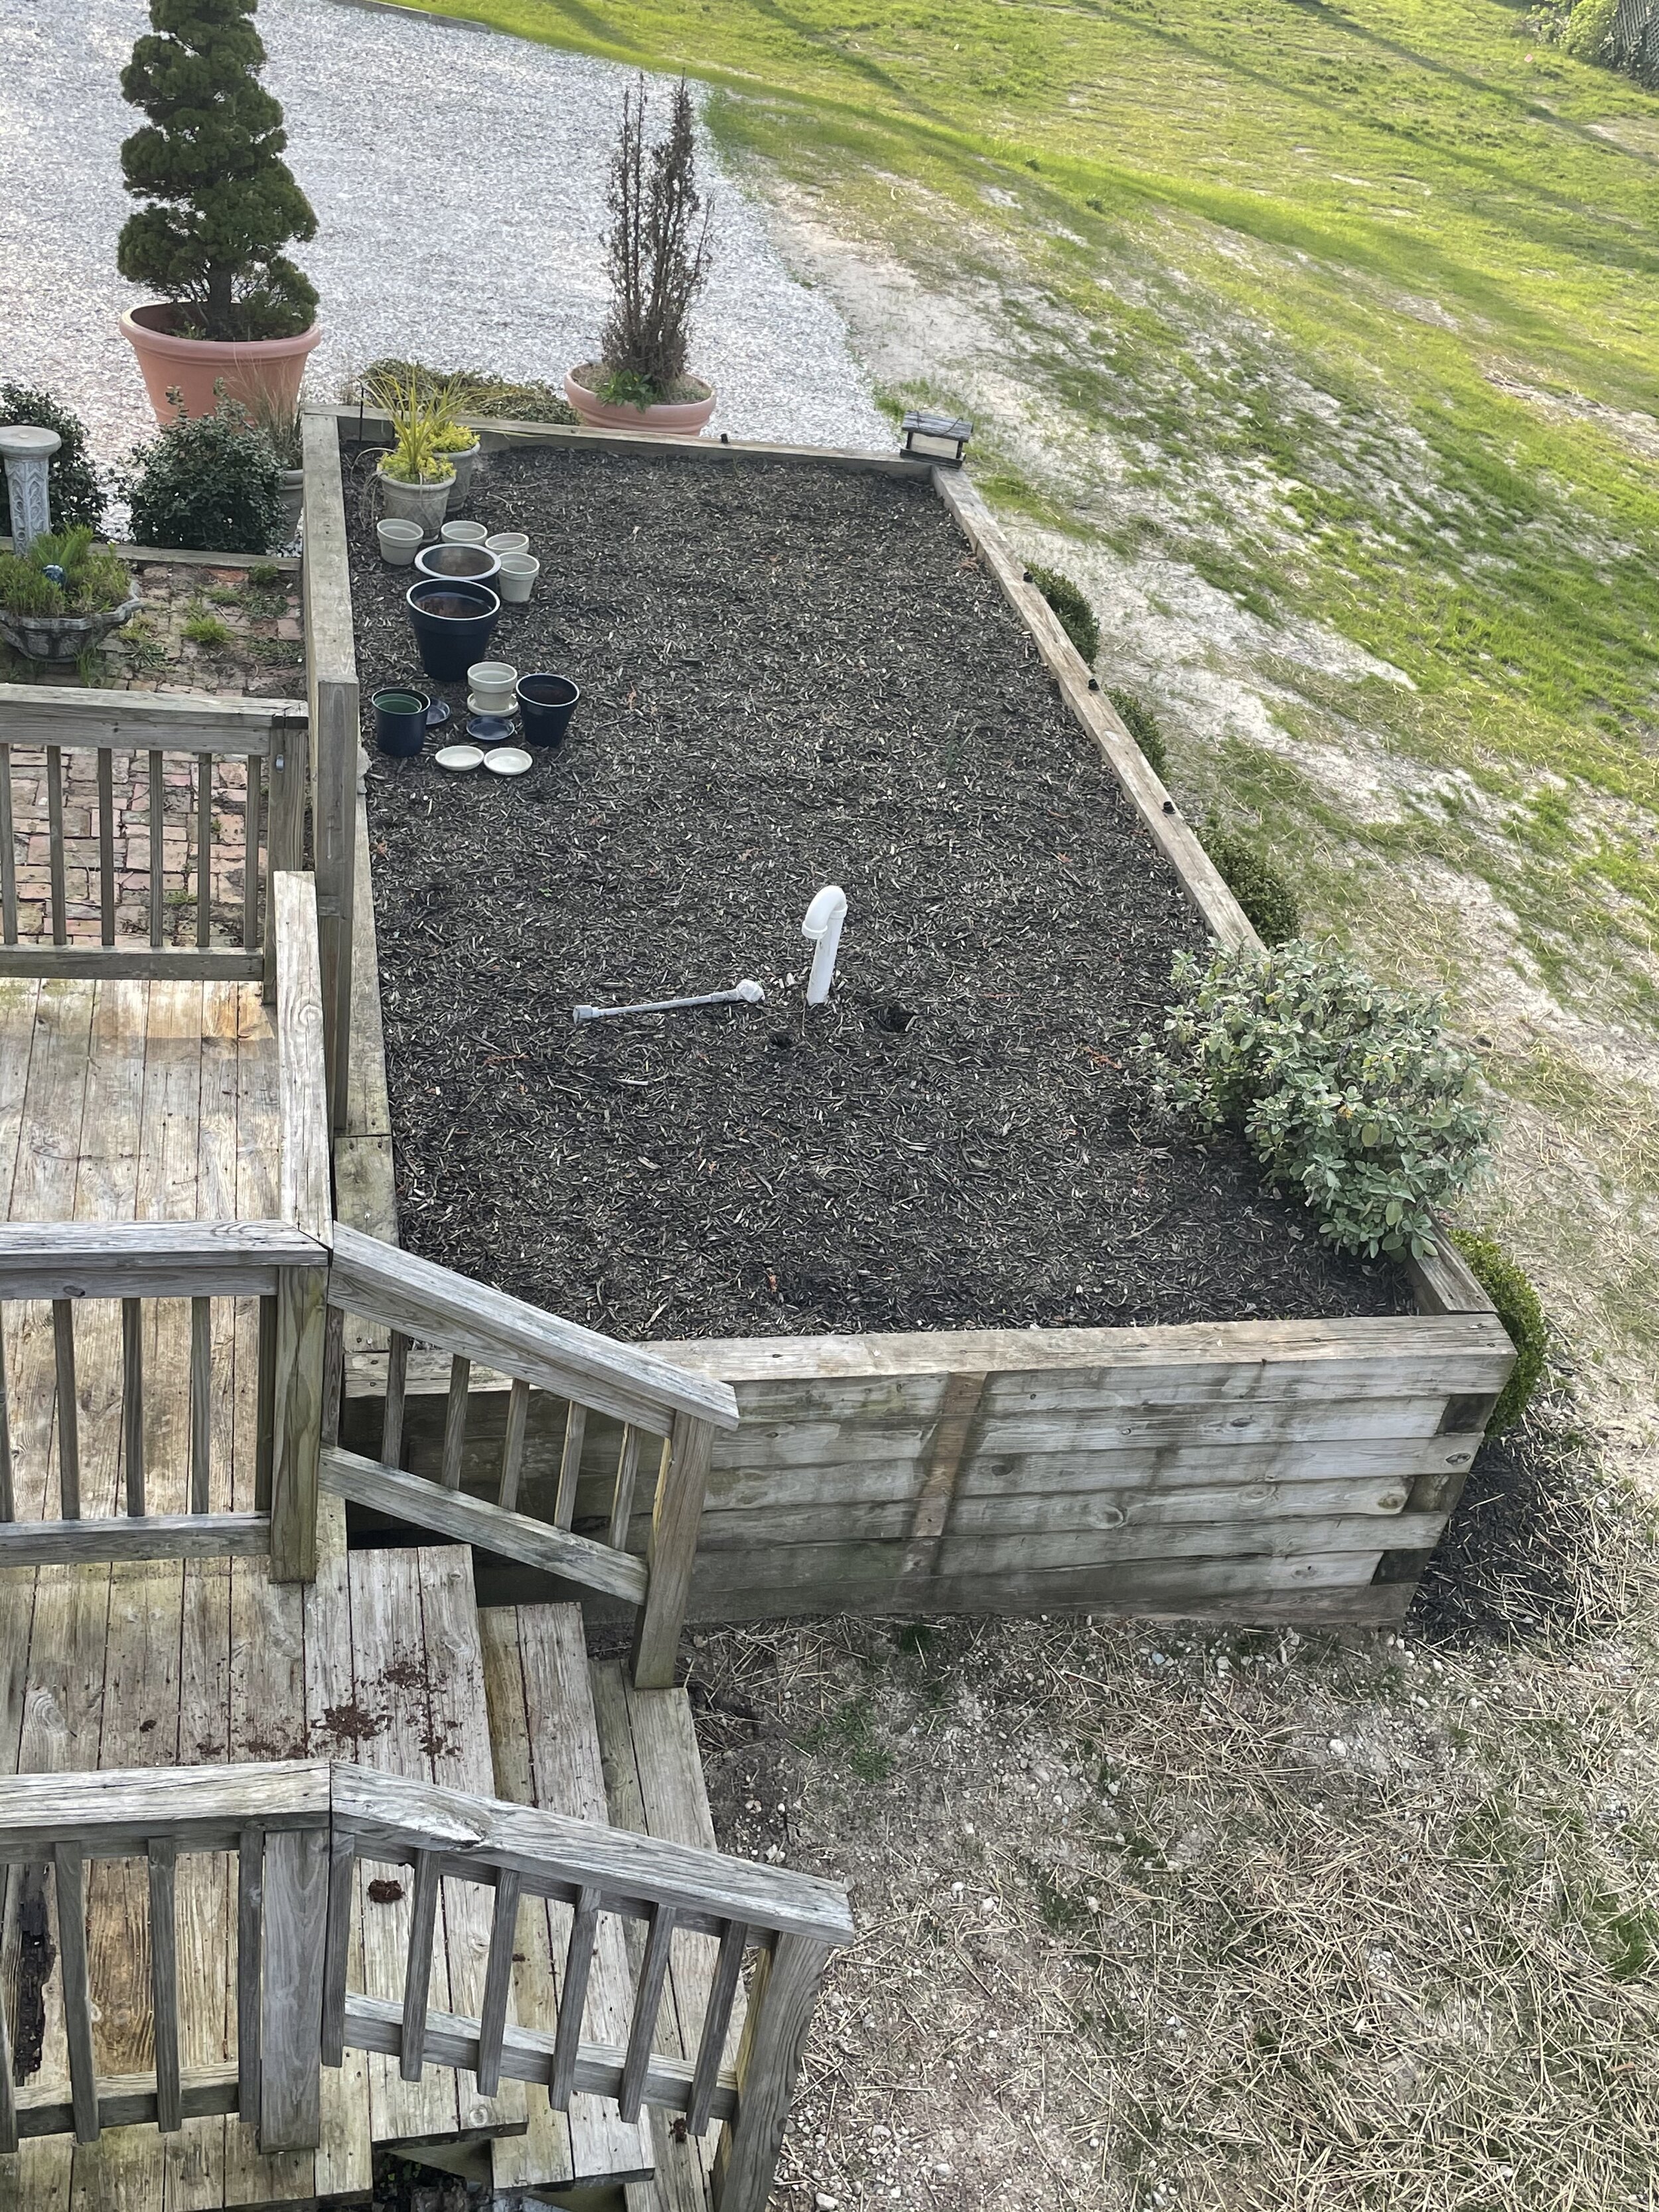
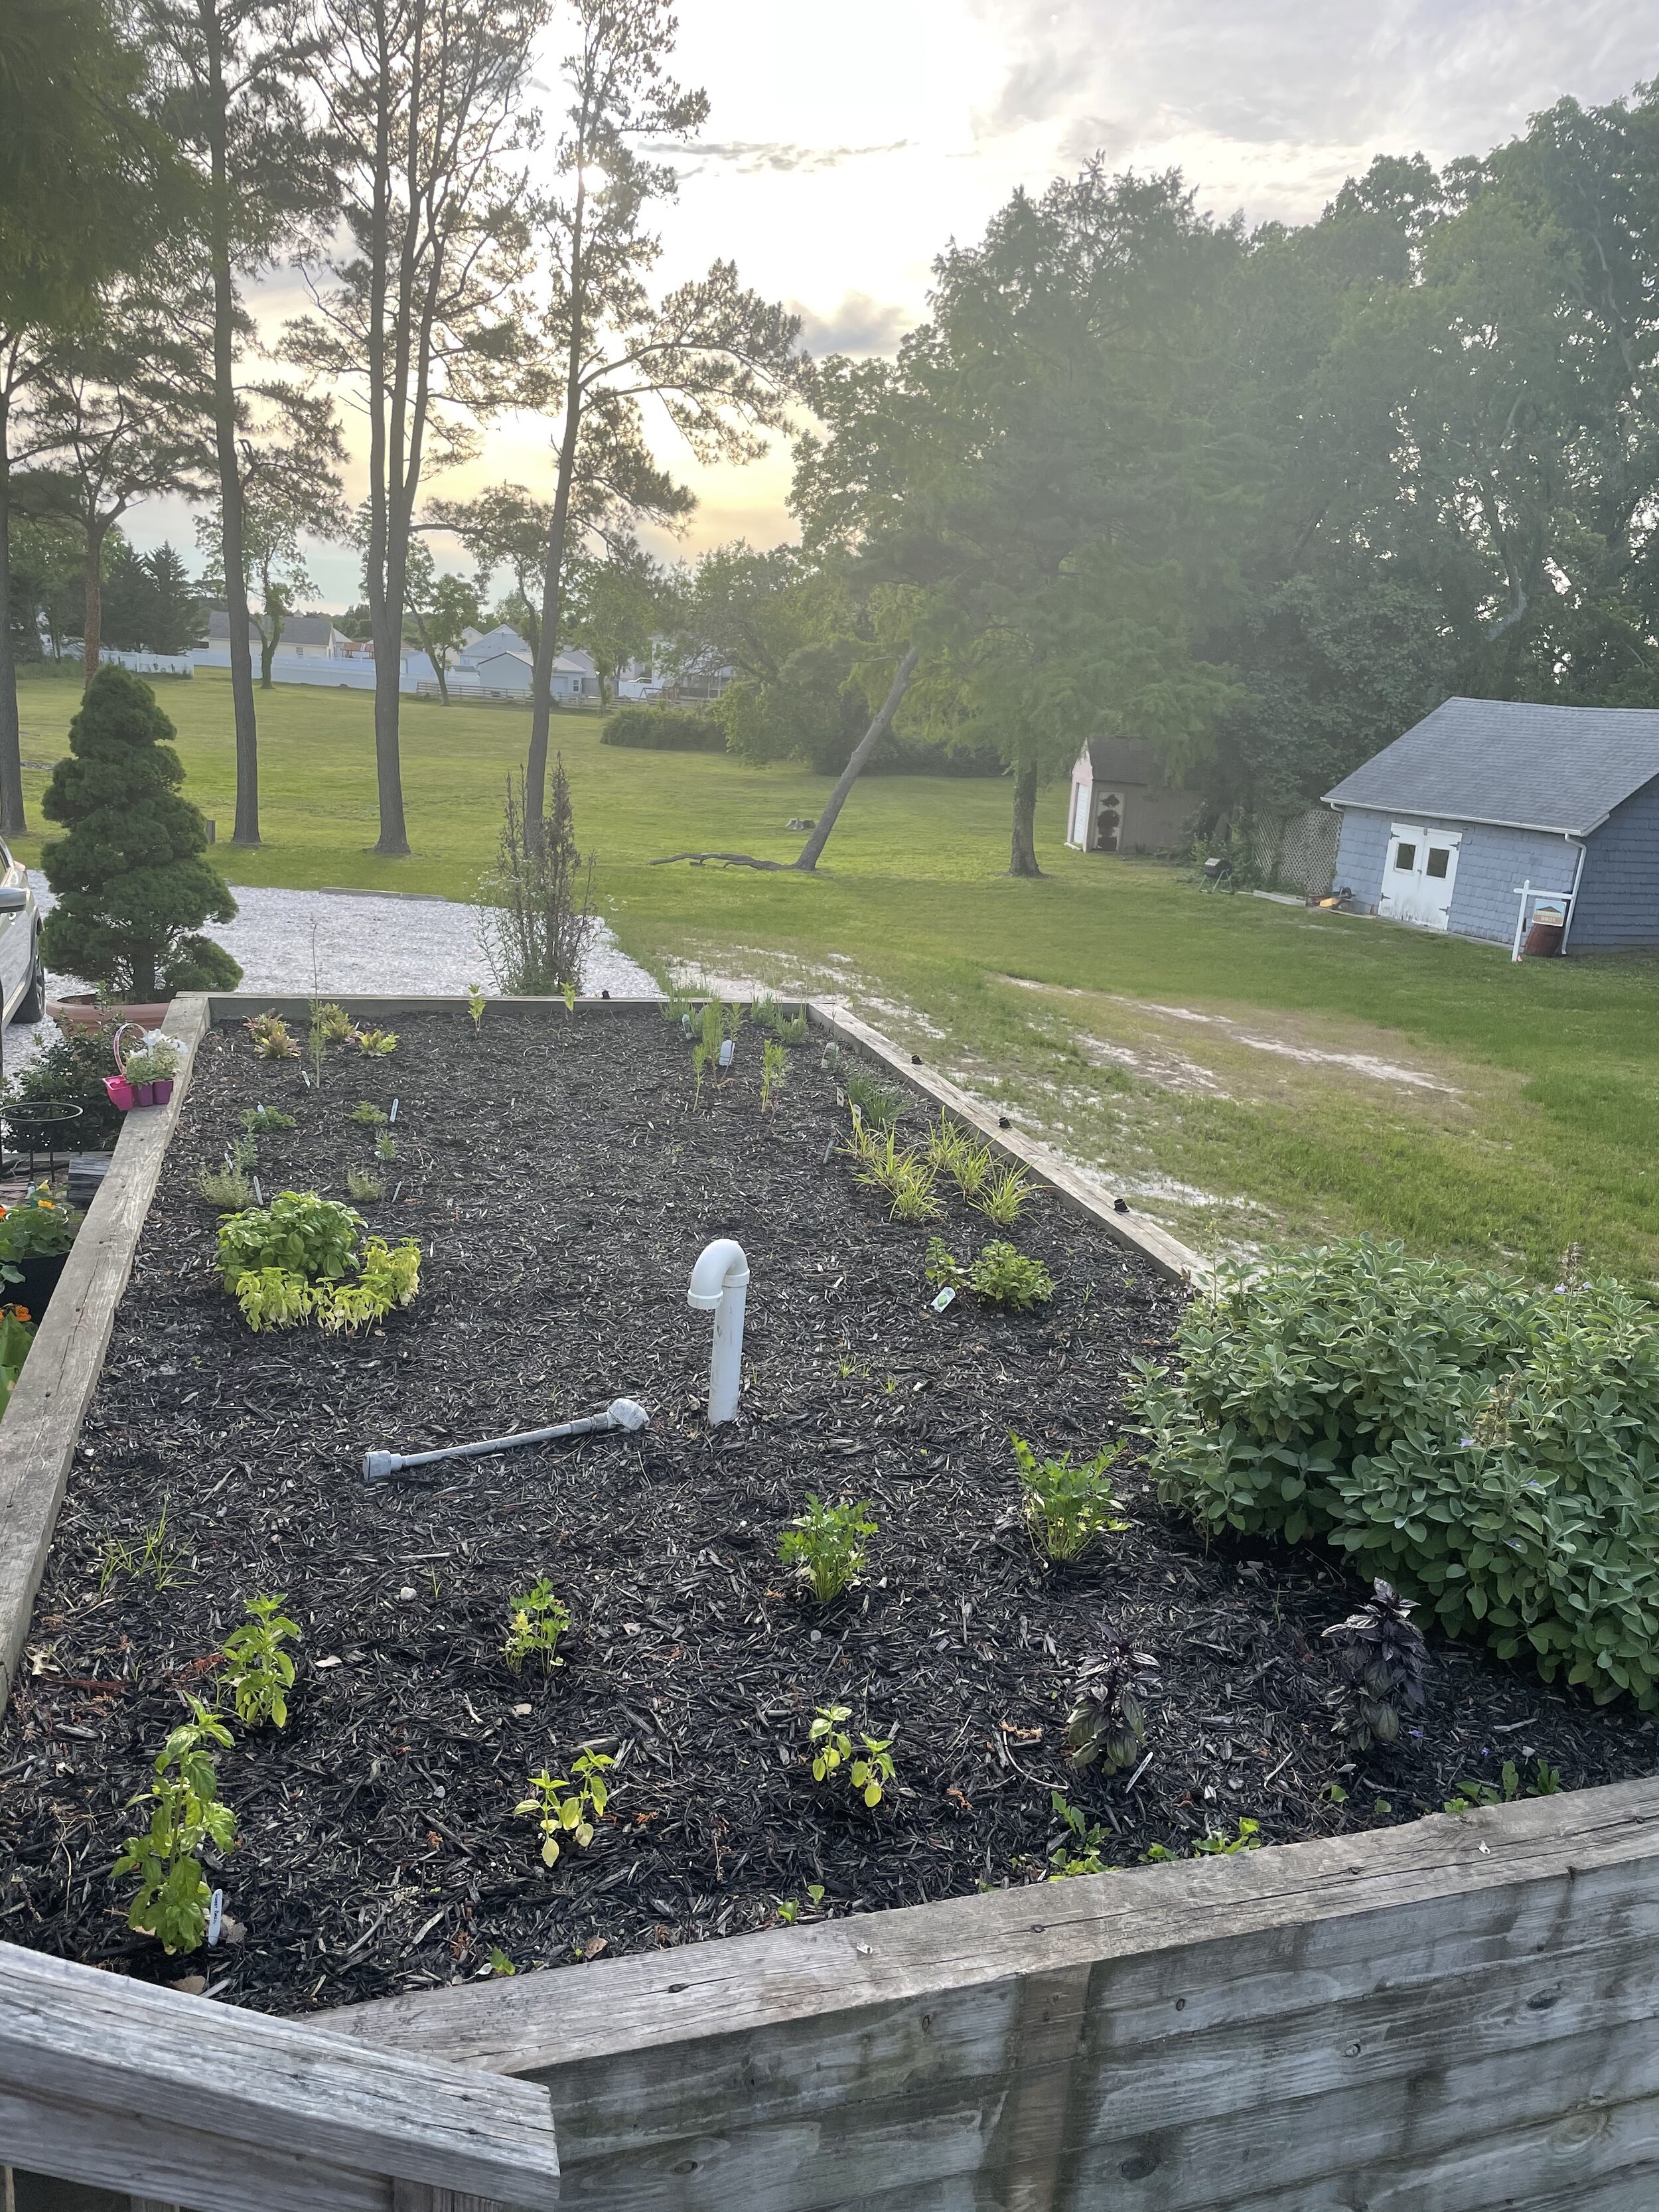
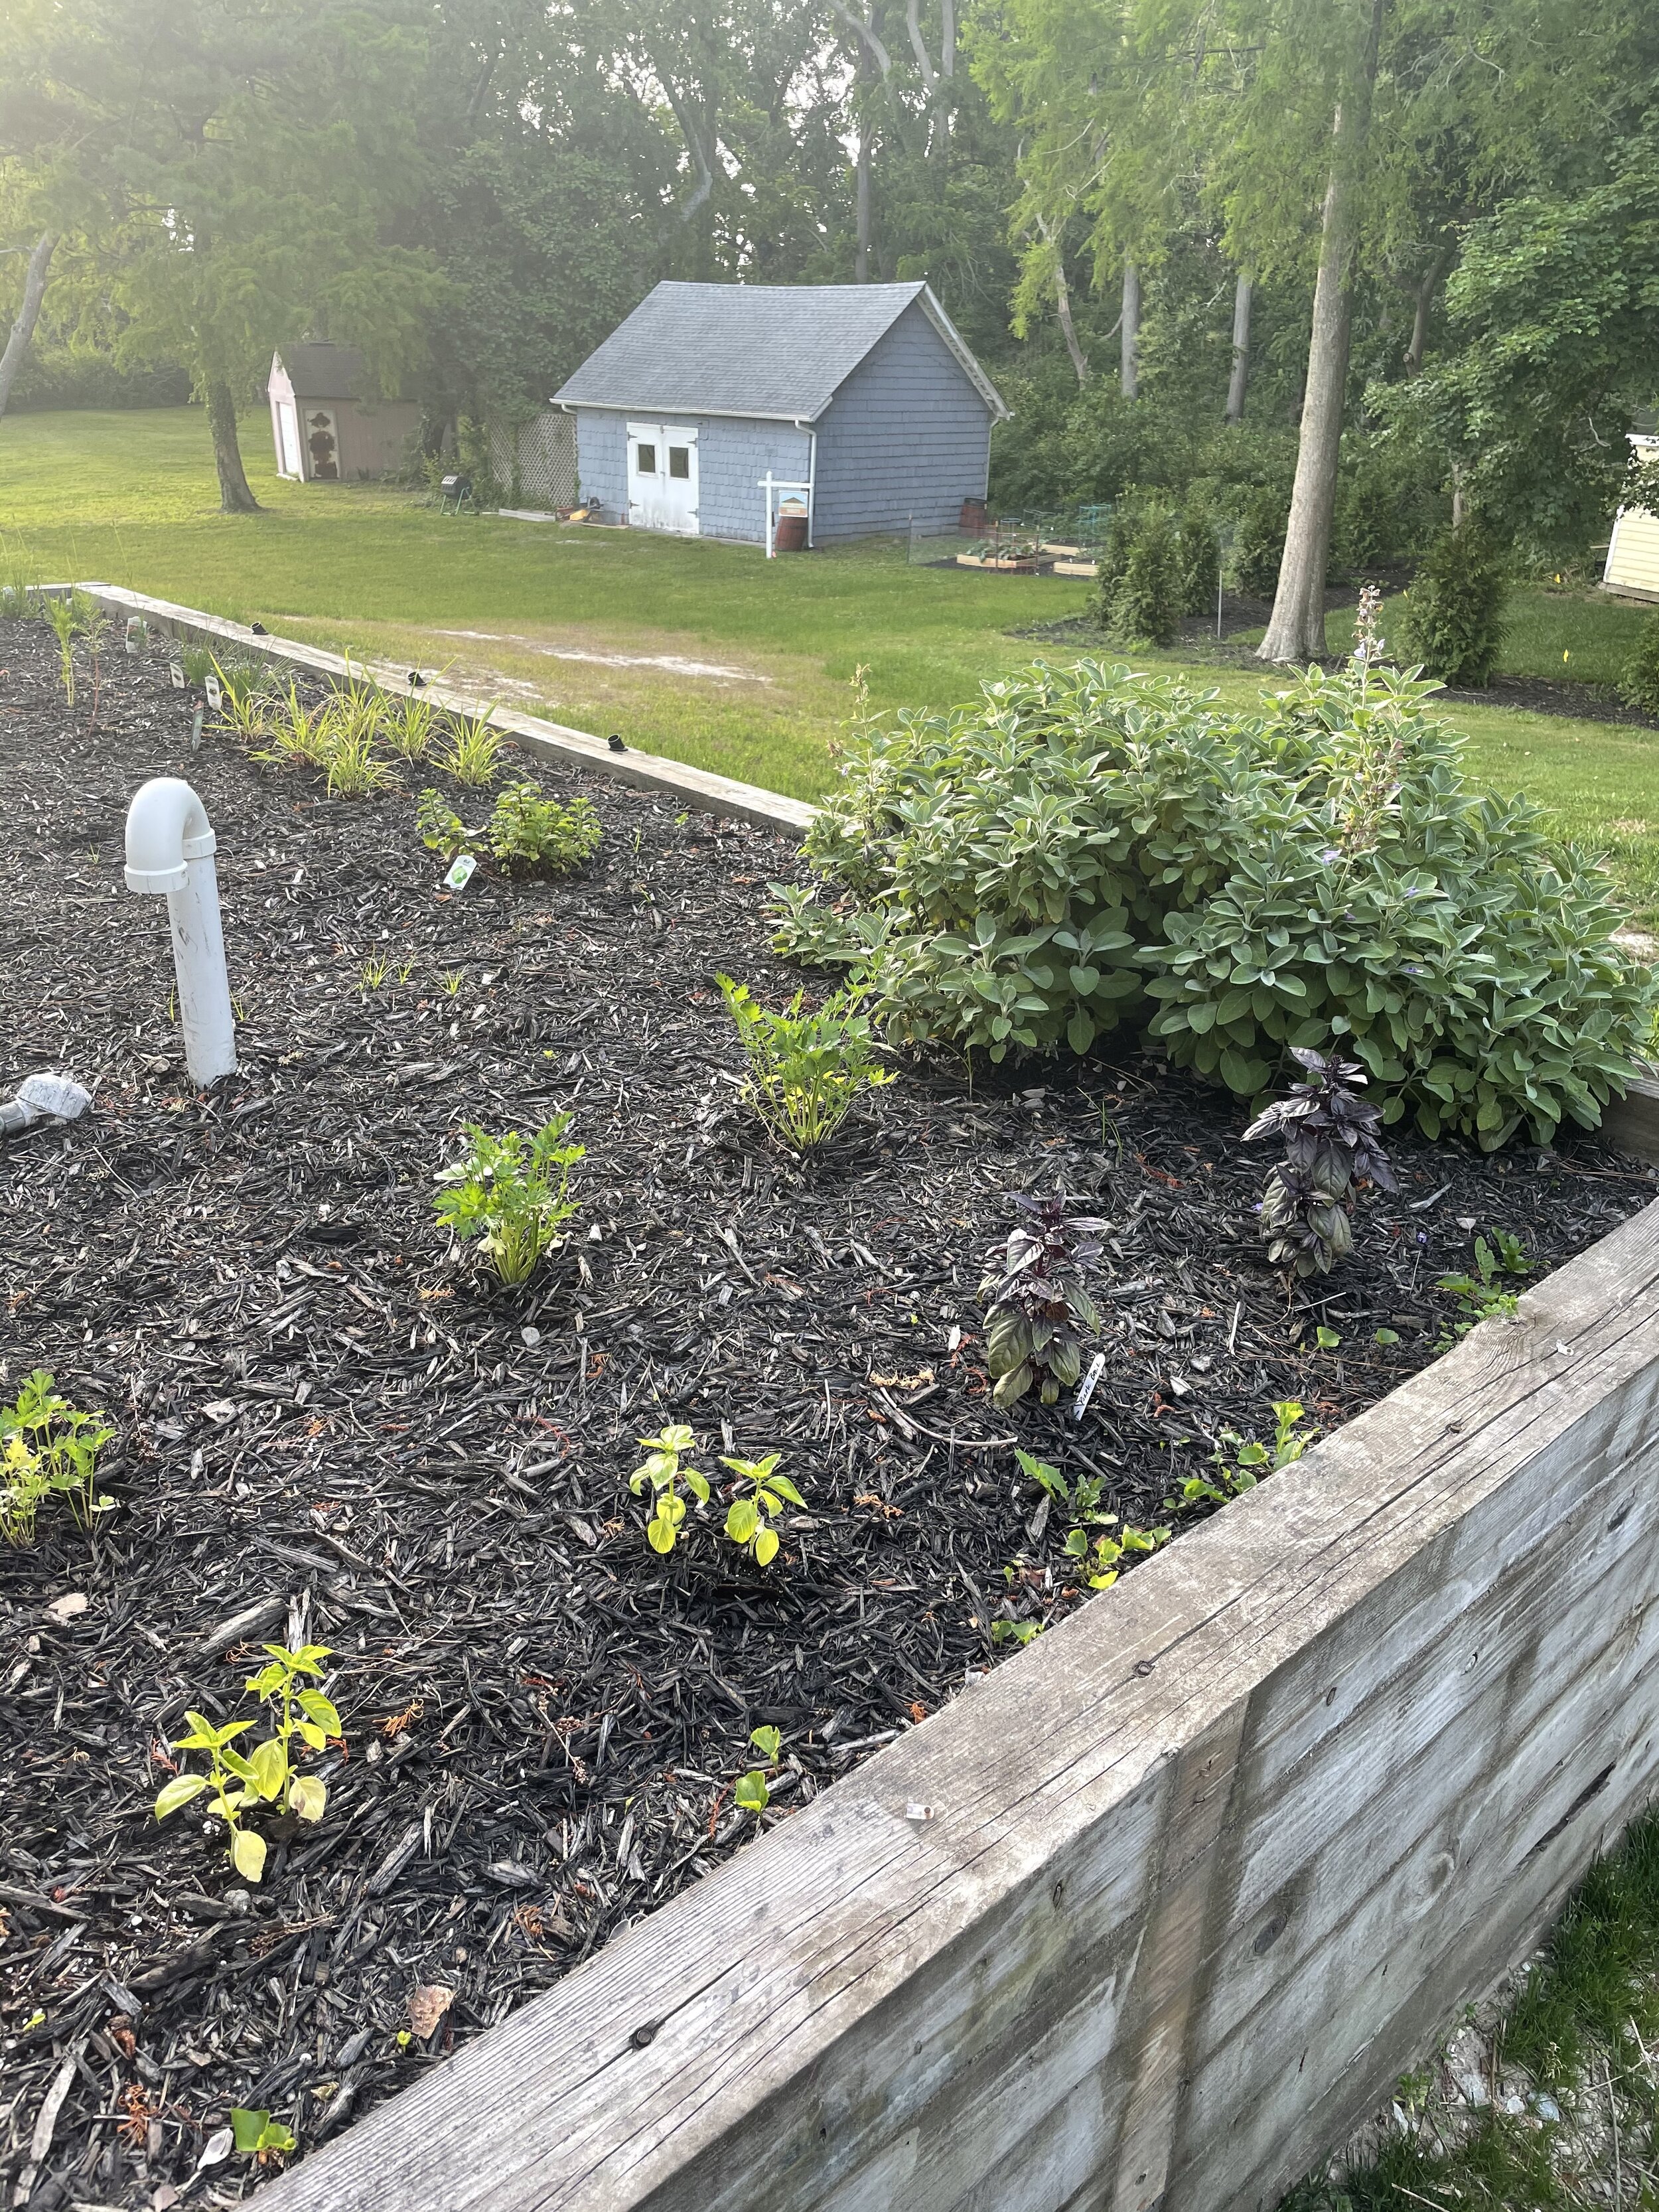
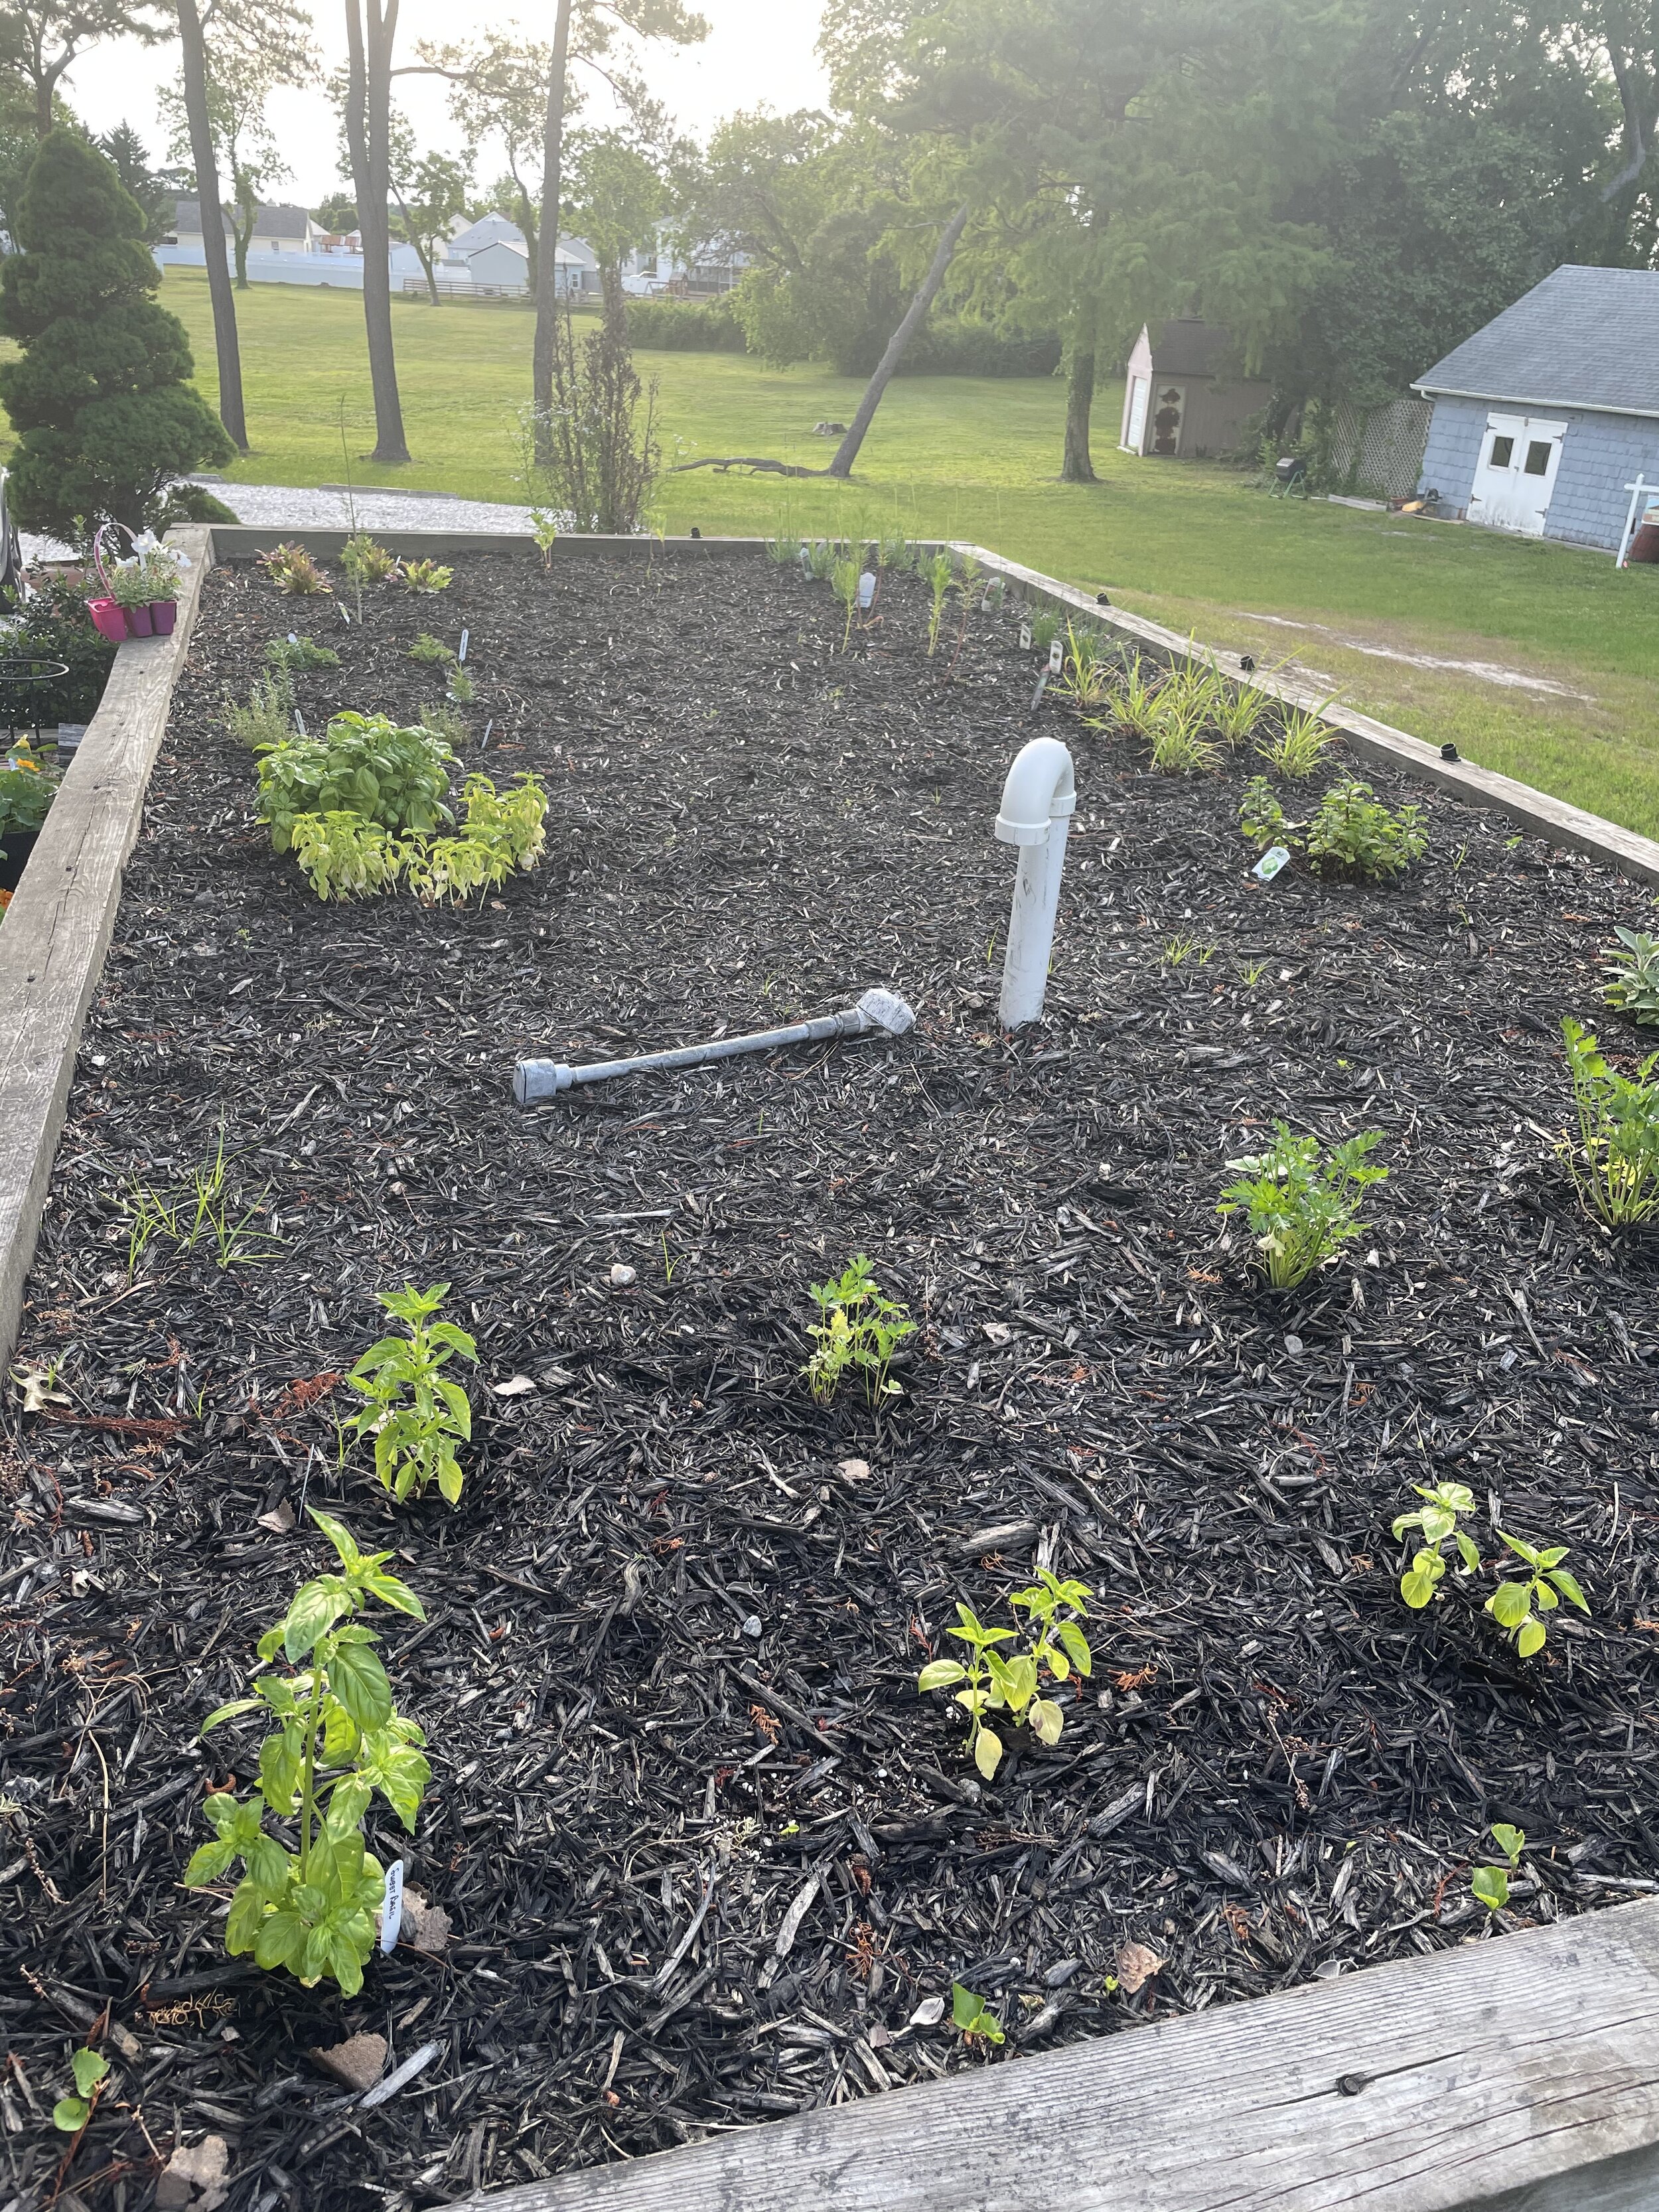
We were so lucky to have a kitchen garden space already in place, with a huge sage plant already living in the soil. Located right off of our kitchen, this garden is so convenient for quickly grabbing herbs to elevate our dishes. The only thing this area needed was a layer of mulch and a ton of herbs. We planted three varieties of basil, thyme, oregano, rosemary, parsley, dill, lavender, lemongrass, mint, chives, and some tender lettuce. Ard Brac Acres also gifted us some zinnia and cosmos flowers to try and grow, so they are mixed in with the herbs for an eventual pop of color!
Below, photos of what the kitchen garden looked like after adding a layer of mulch, and after we planted our herbs.
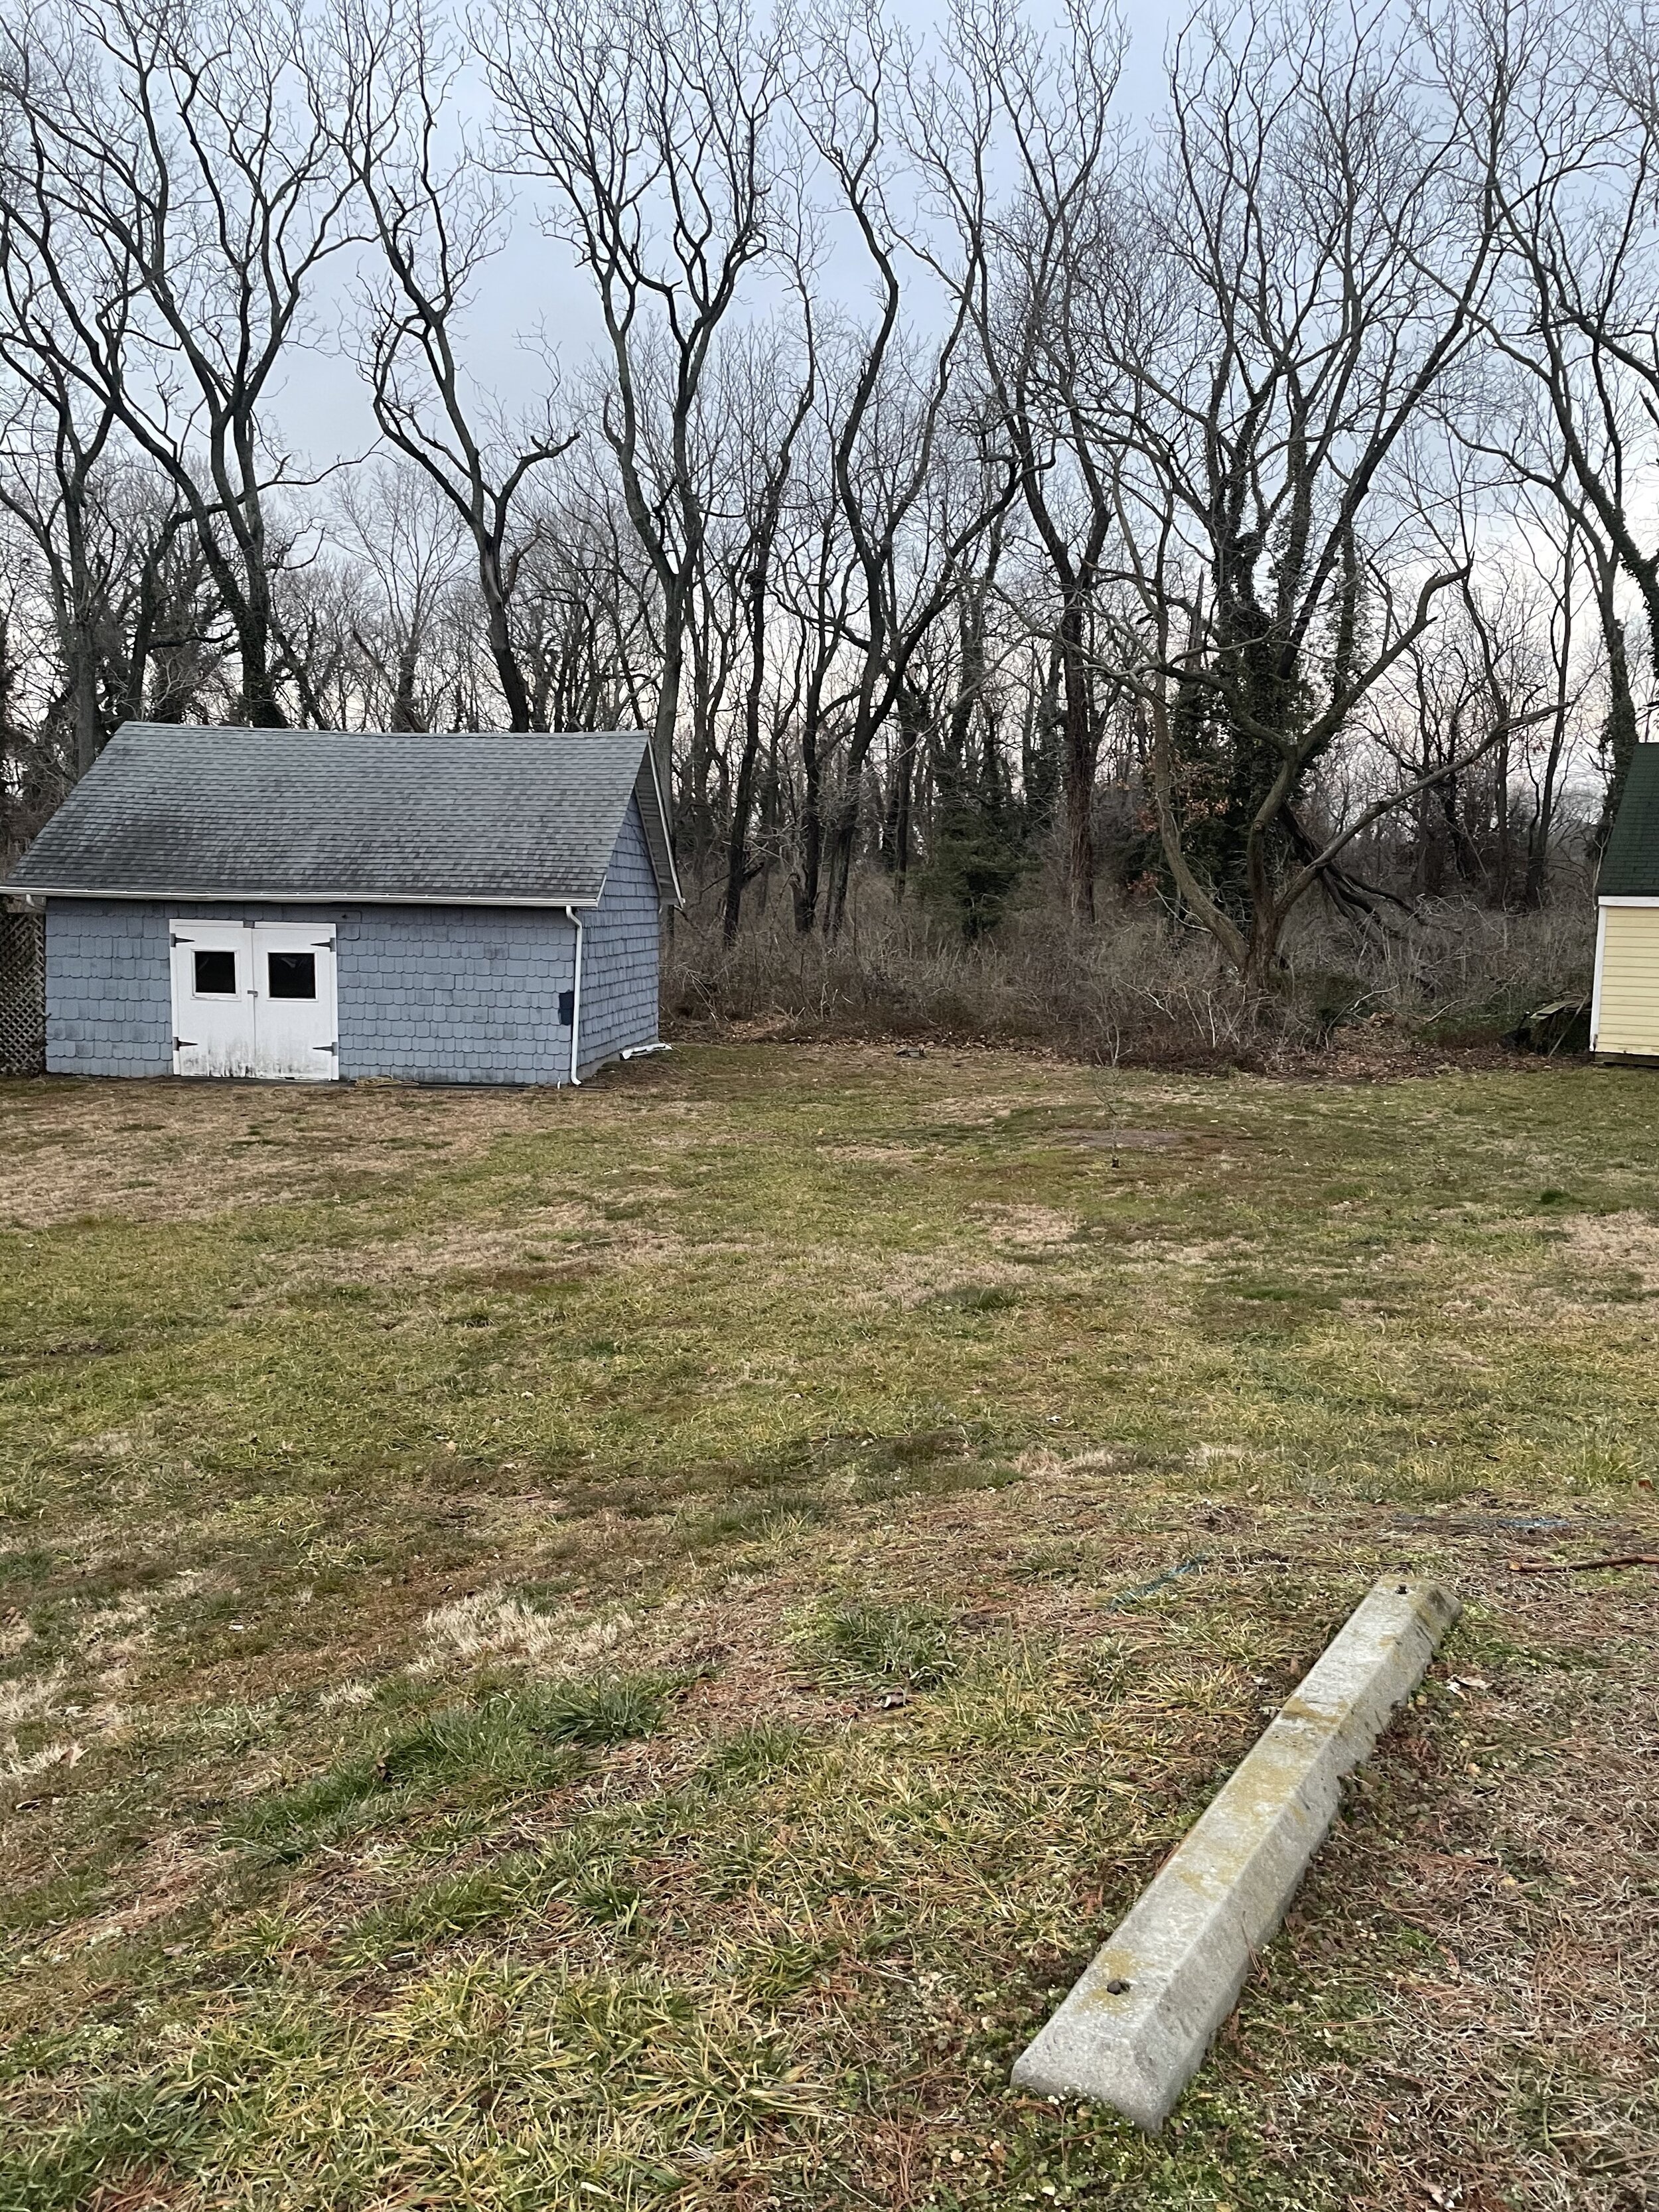
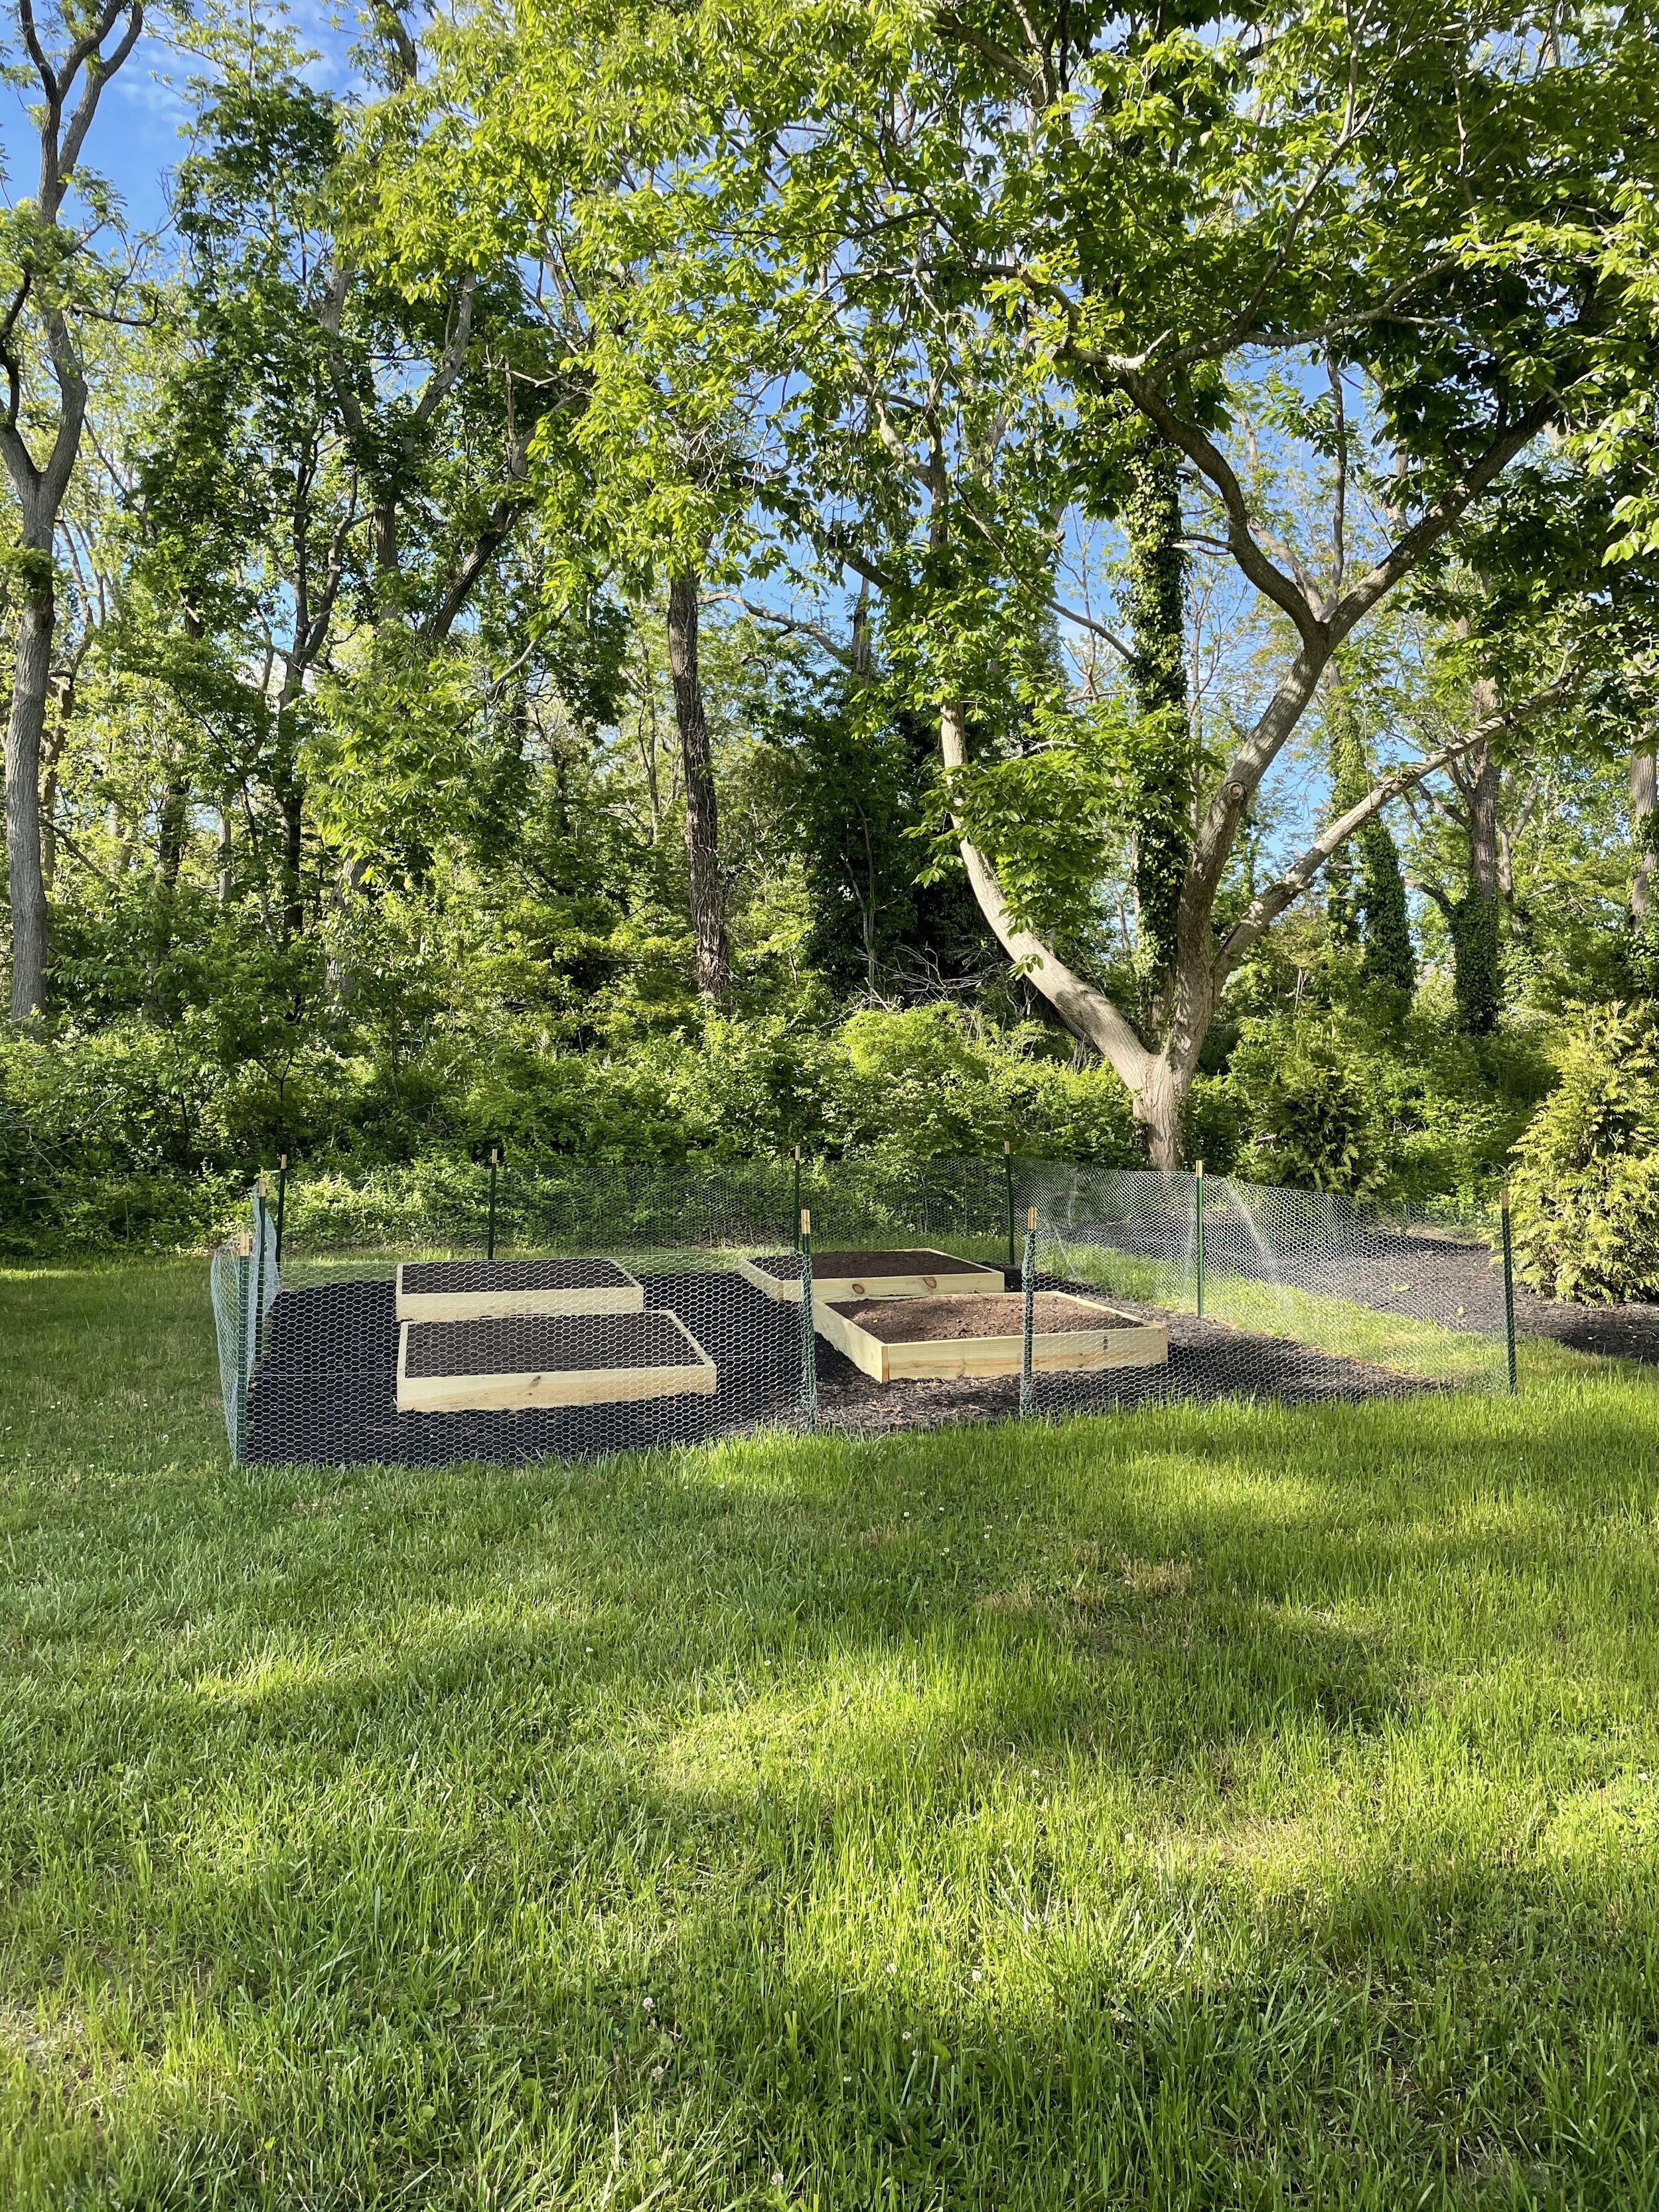
The big project with our garden was creating a space for our raised beds, and figuring out a way to fence the area off from hungry critters. Deciding to build the raised beds myself was the best choice I could have made! Not only did I save a lot of money, but the beds I built will last beyond one season of use. They are sturdy, tall, and were incredibly easy to put together. All winter I saved cardboard boxes to use as the ‘grass killer’ beneath the raised beds, and to insulate the soil to better regulate the temperature. The cardboard slowly decomposes, and doesn’t allow weeds or grass to grow up through the soil. This is a great (and free!) way to avoid using the typical garden/landscaping fabric. Just make sure to remove any plastic or tape from the cardboard and you’re good to go. Once I had the raised beds in the locations they would live, I planned the fence out. Using string and a measuring tape, I placed multiple metal fence posts in an imperfect square and used a rubber mallet and shovel to drive the posts into the earth and secure them in place. I purchased chicken coop metal wire (also known as poultry netting) and secured that to the metal posts with coated metal wire cut down to size. To make sure no animals could sneak under the poultry netting, I placed metal stakes every foot or so around the perimeter of the fence to drive the netting into the ground… no gaps here! Making a door was a bit beyond my skill-set, so for now, we are using a few extra plant supports and it is working just fine. The hard work was accomplished by our landscapers, who delivered the mulch and compost and spread it around the garden - compost in the raised beds, and mulch on the pathways surrounding the beds.
Below, see what the space looked like before anything was done (December 2020), and once the fencing was in place and mulch/compost spread (April 2021).
From that point, all we had to do was plant our sproutlings and water, water, water. My mother-in-law helped me to plant all of the plants, and I couldn’t be more grateful for her help! So what all did we plant?
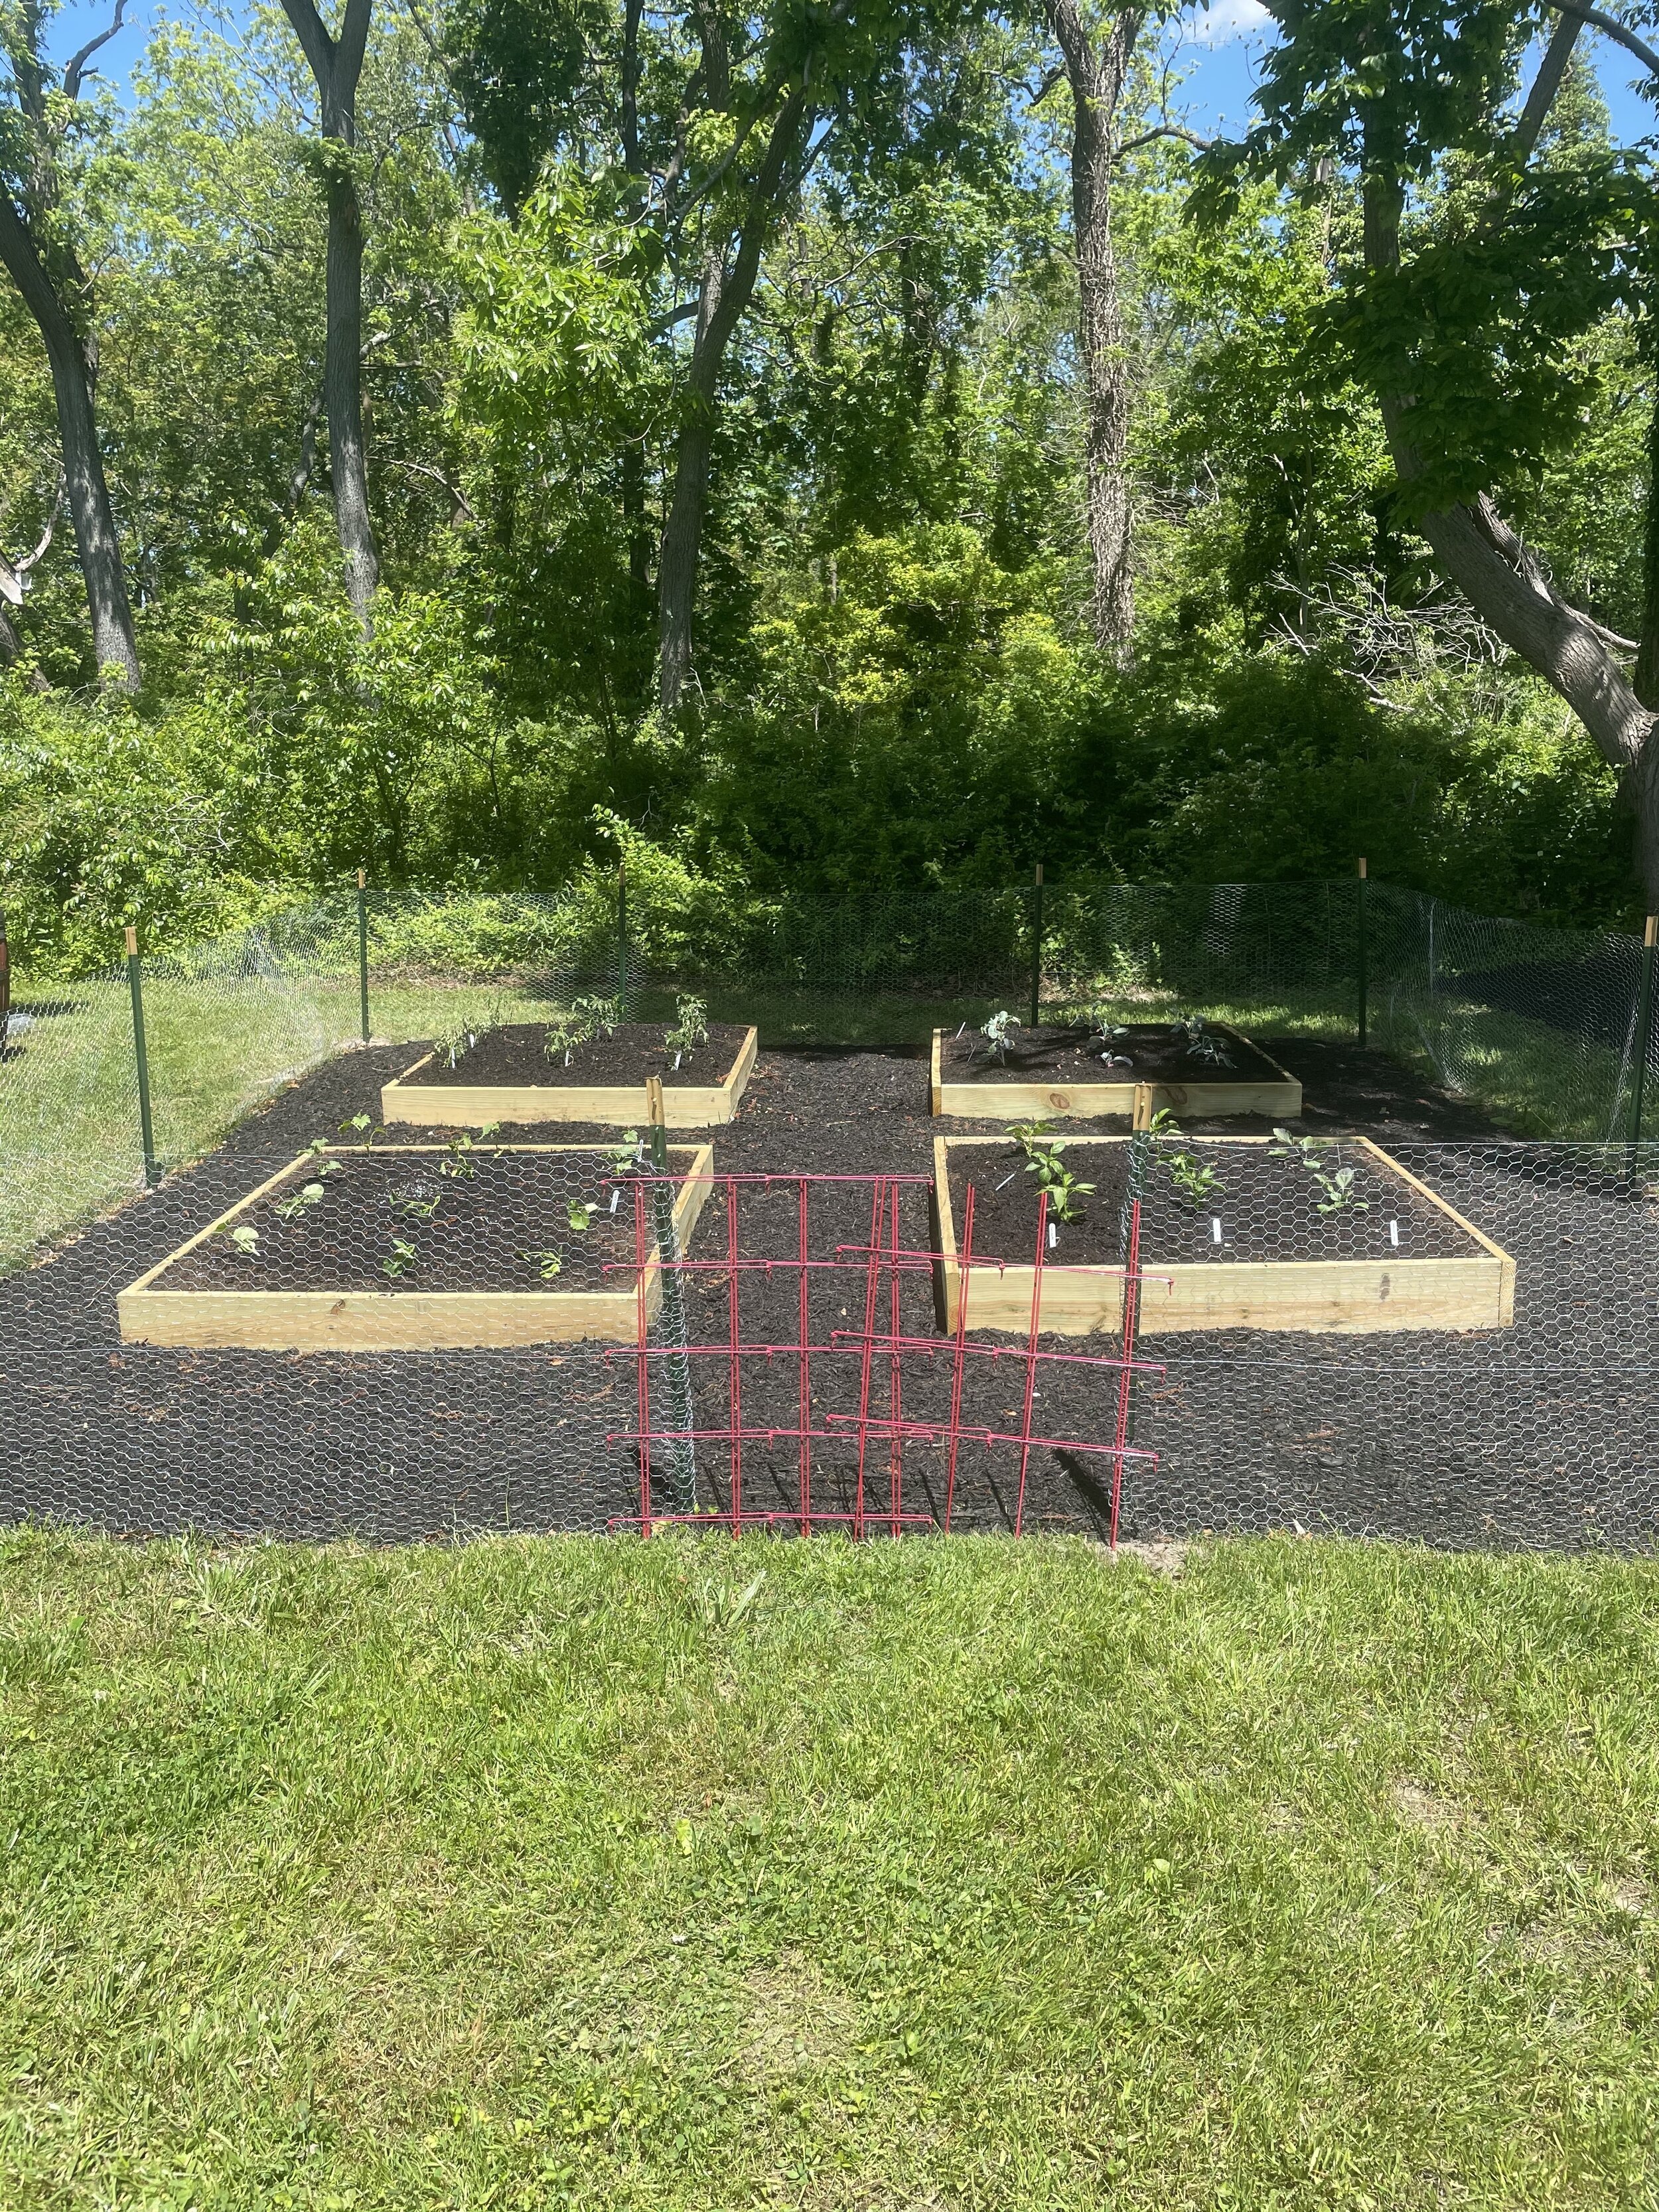
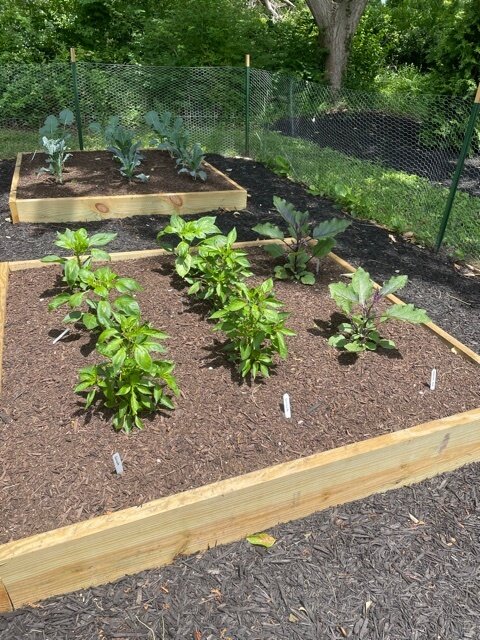
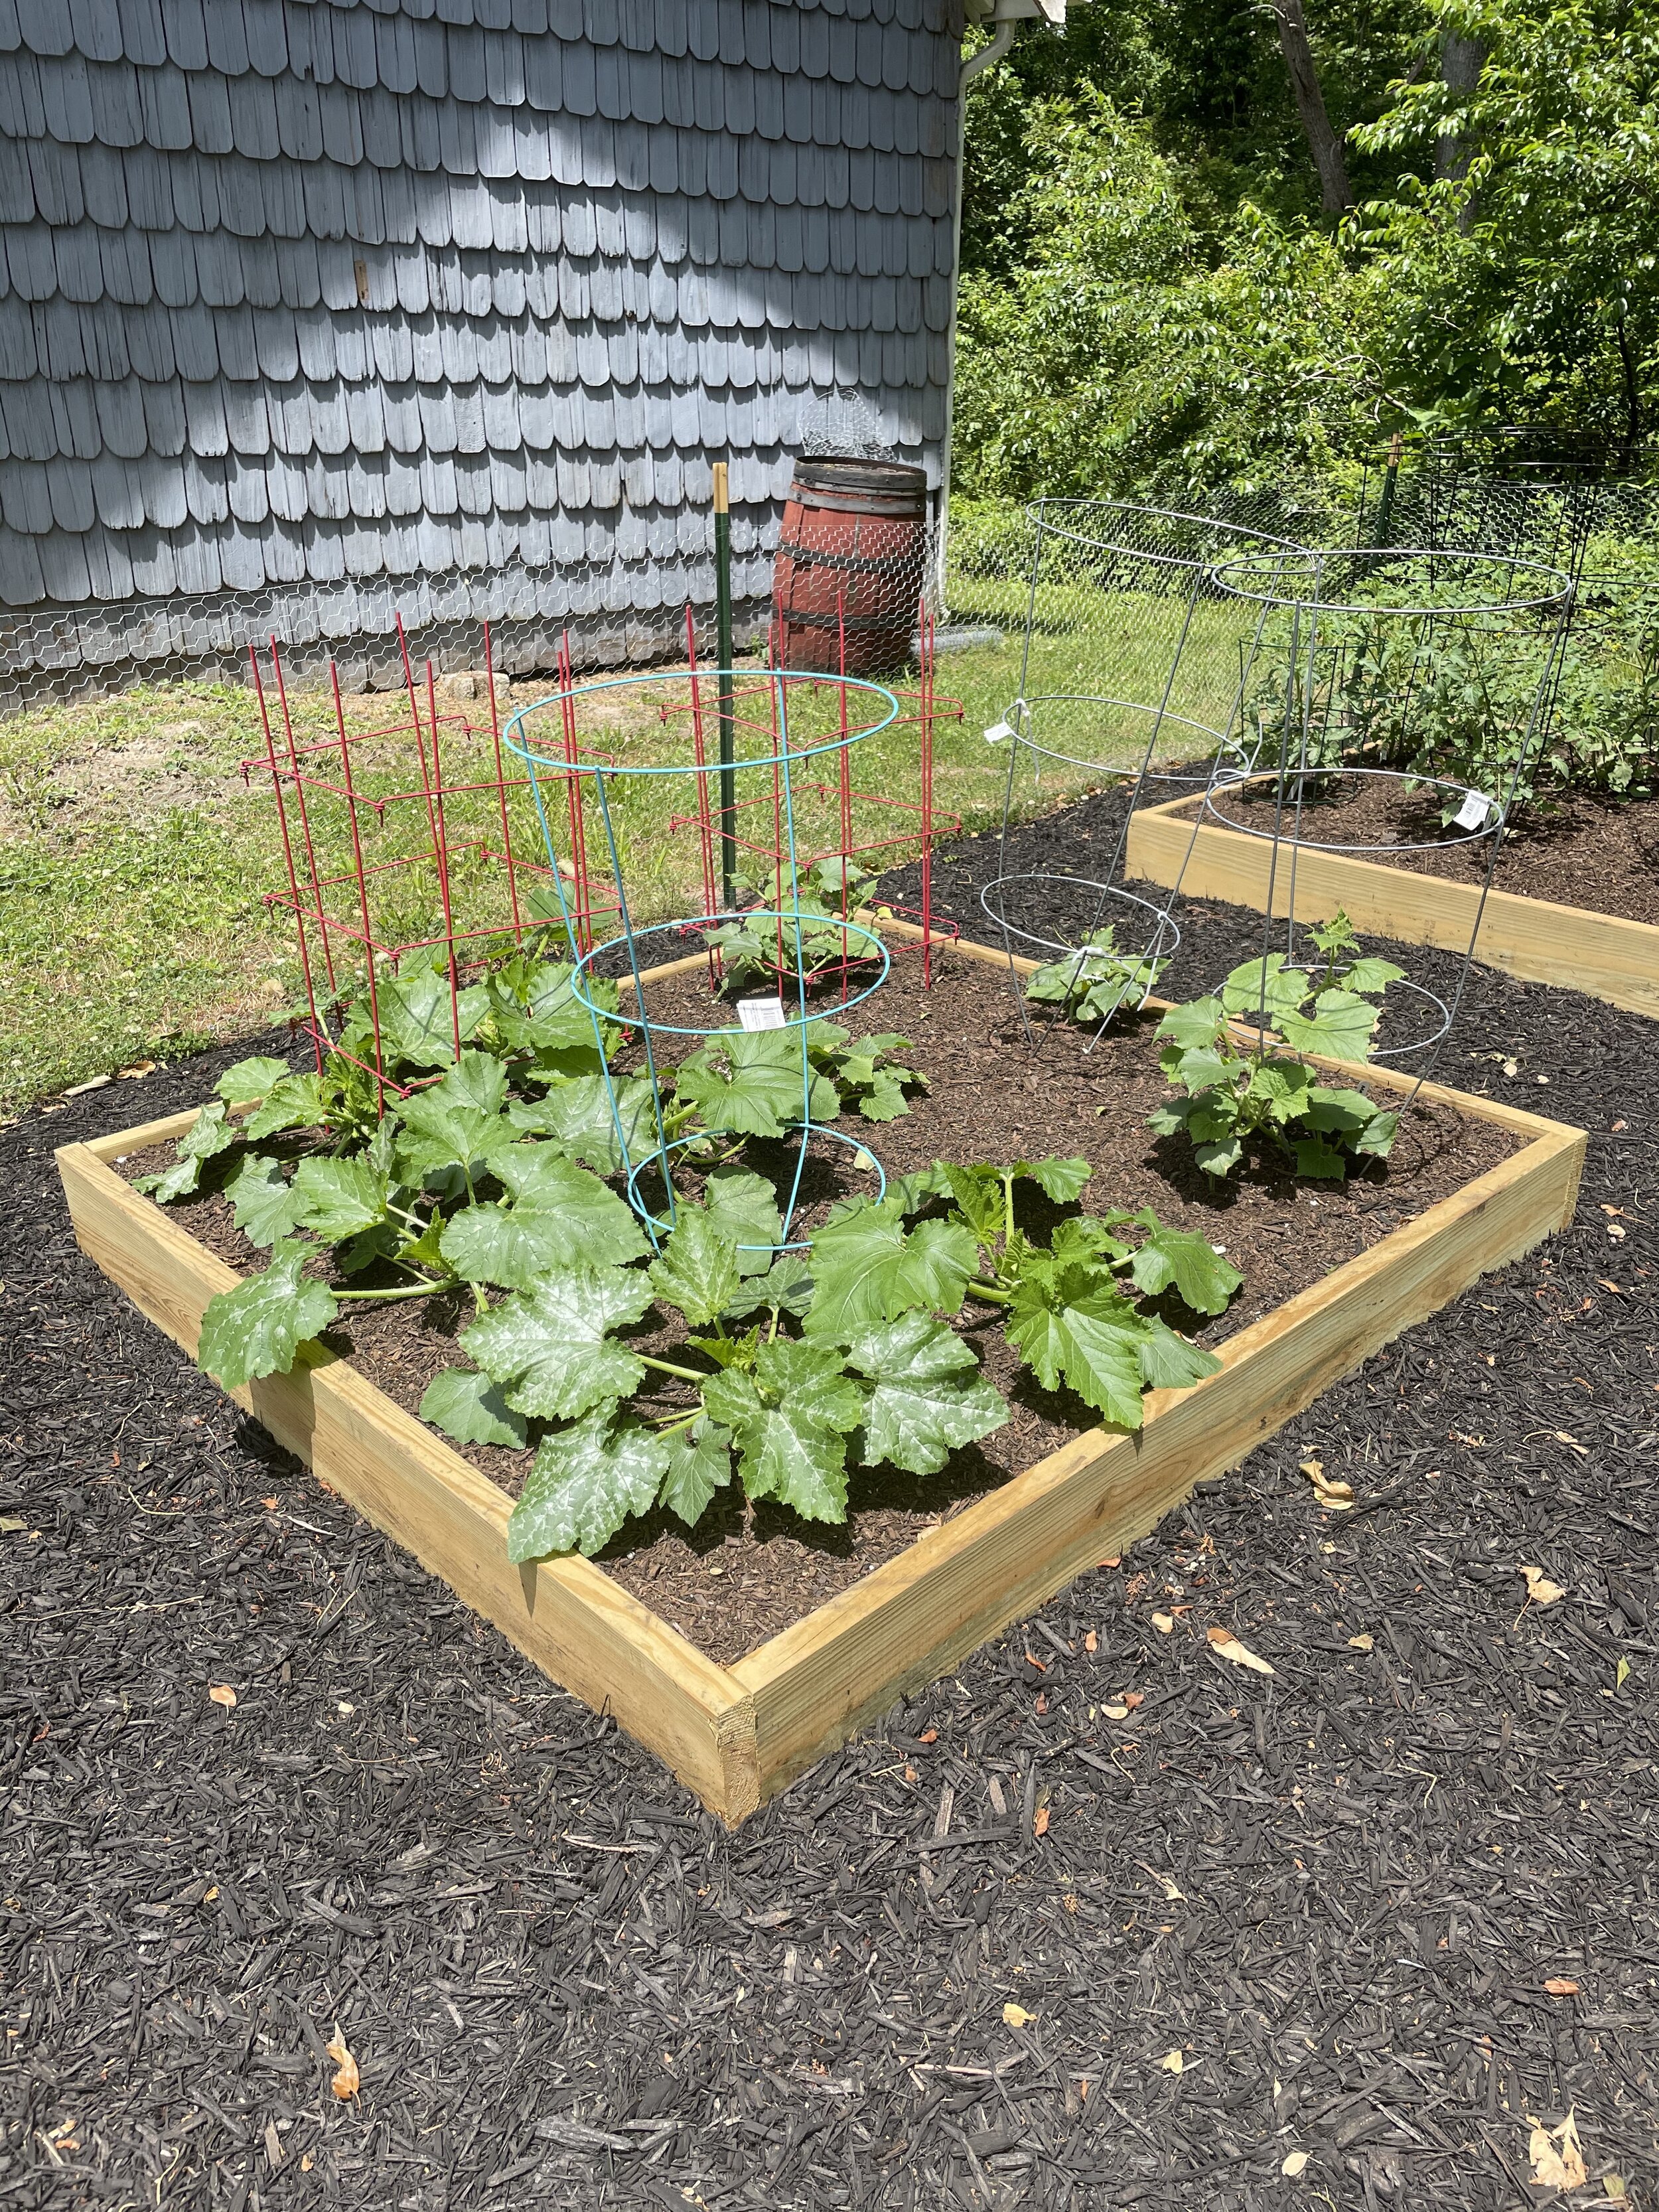
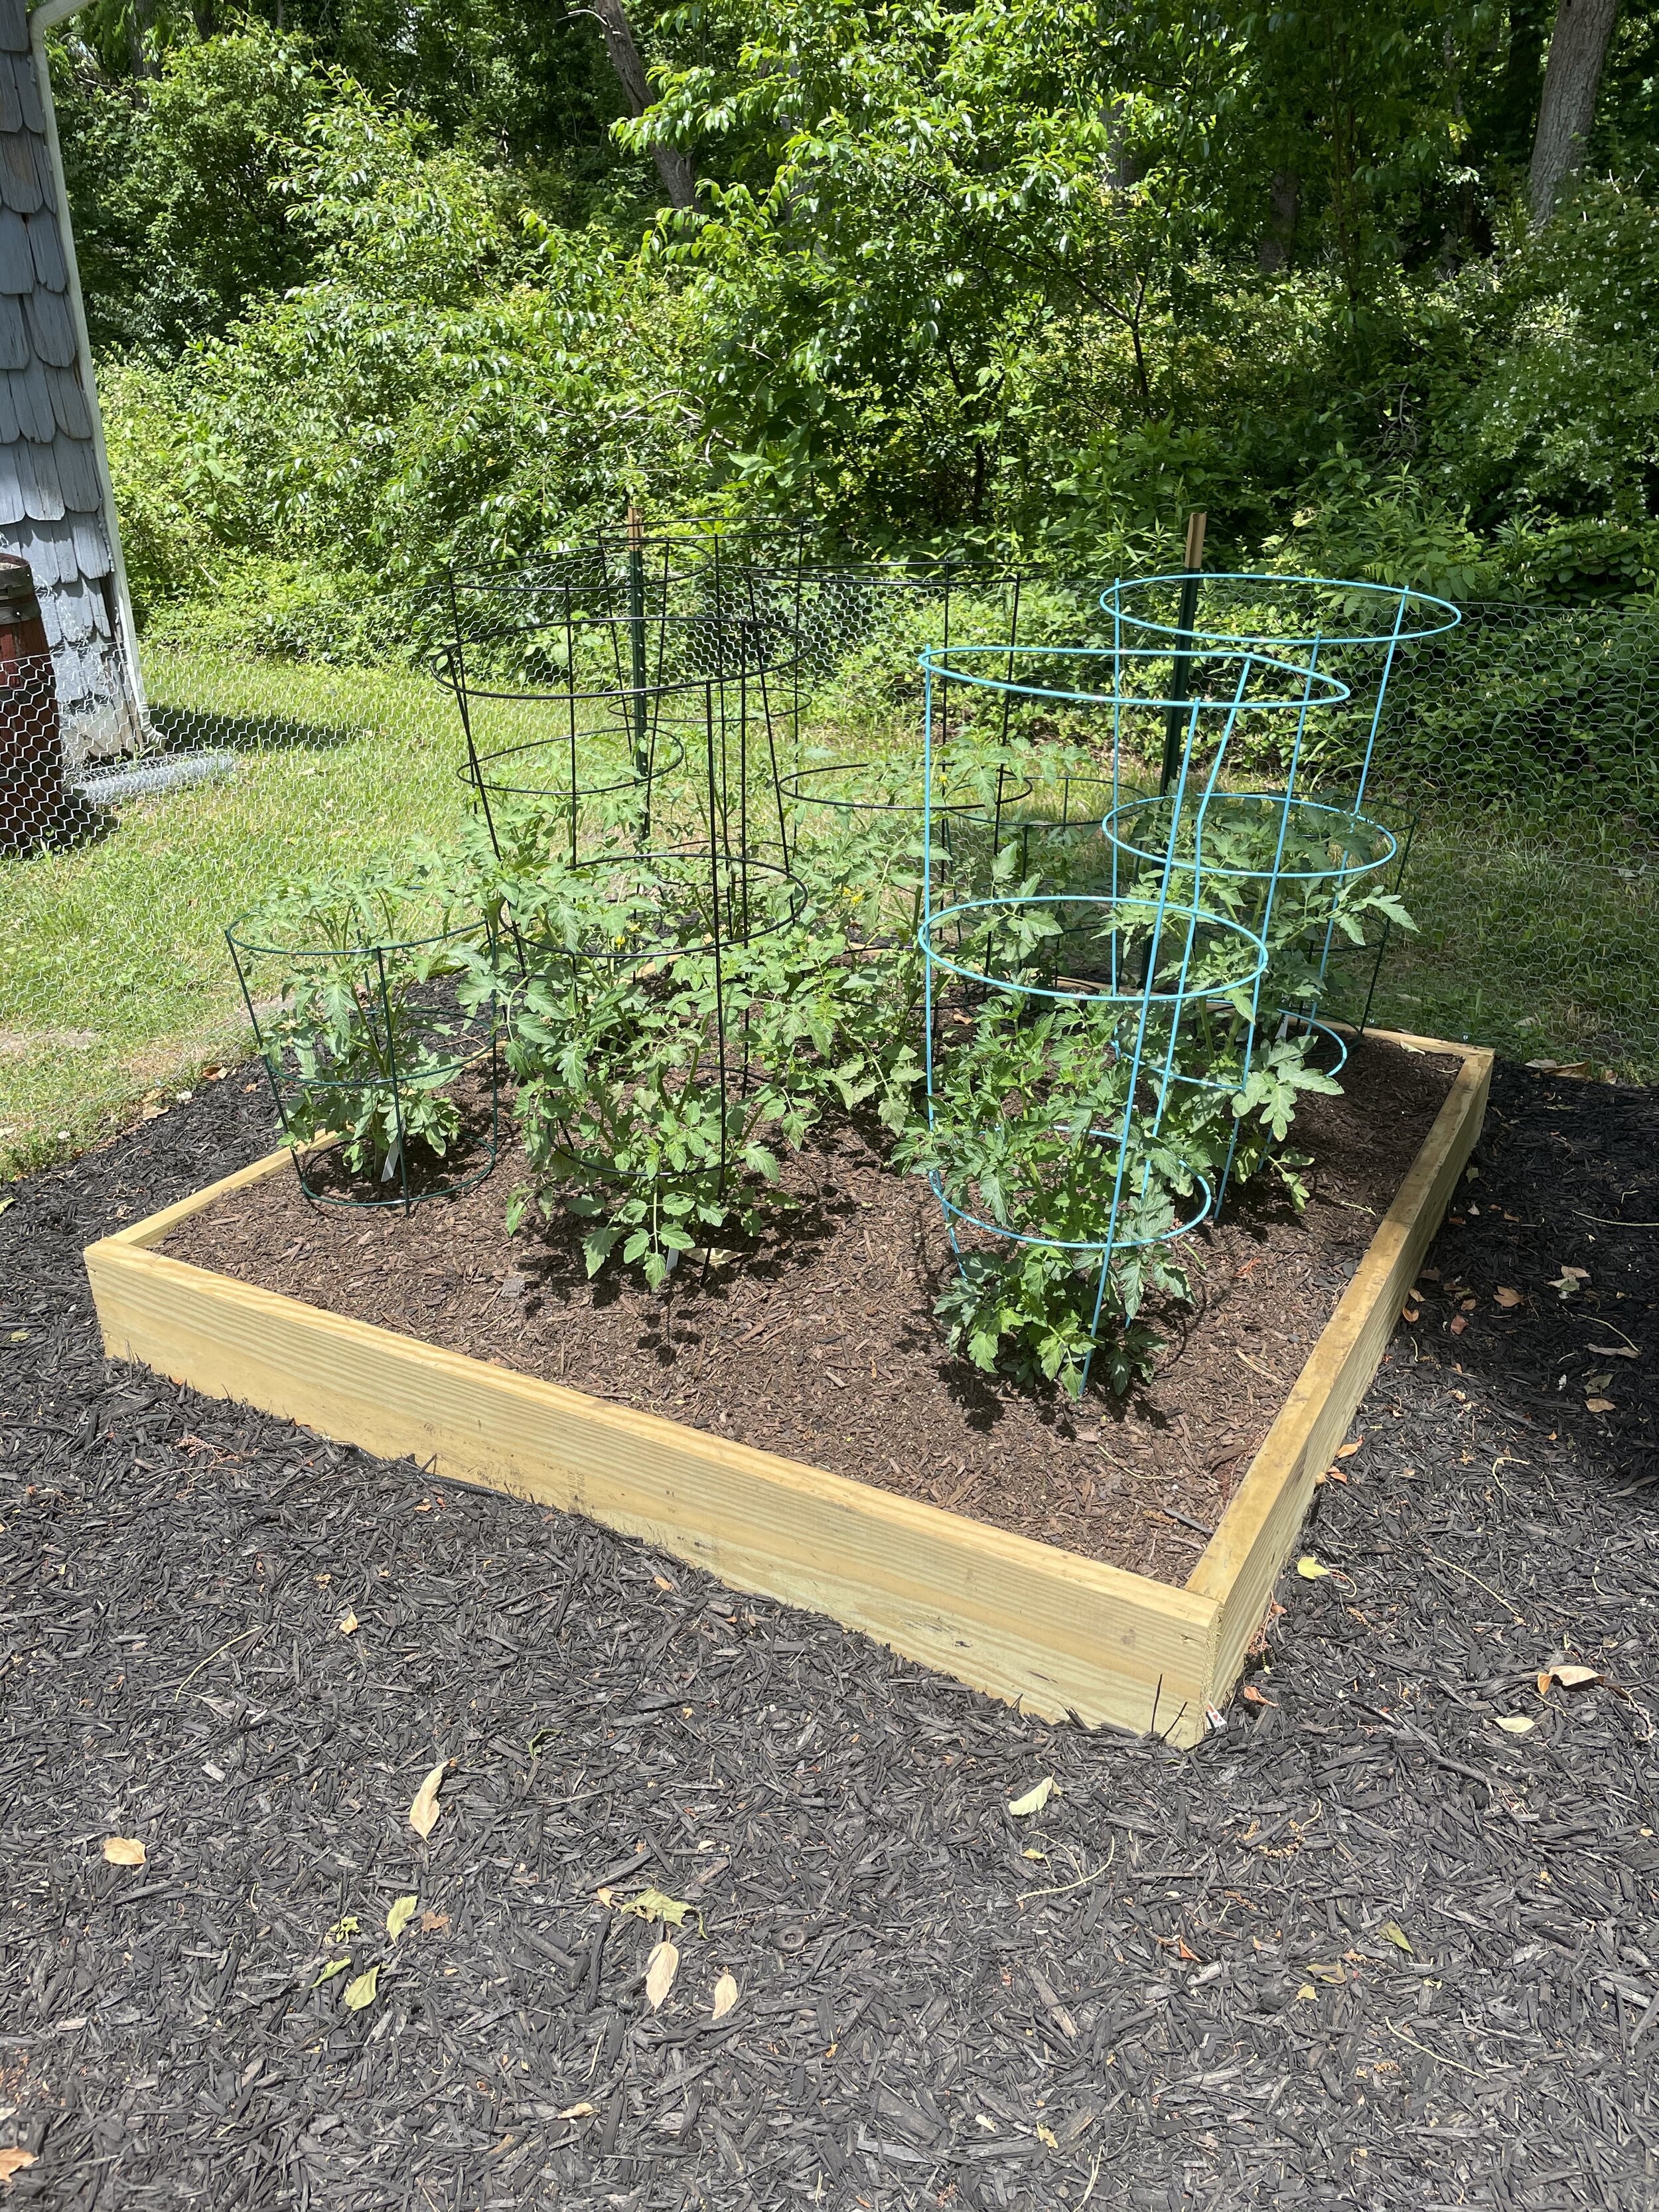
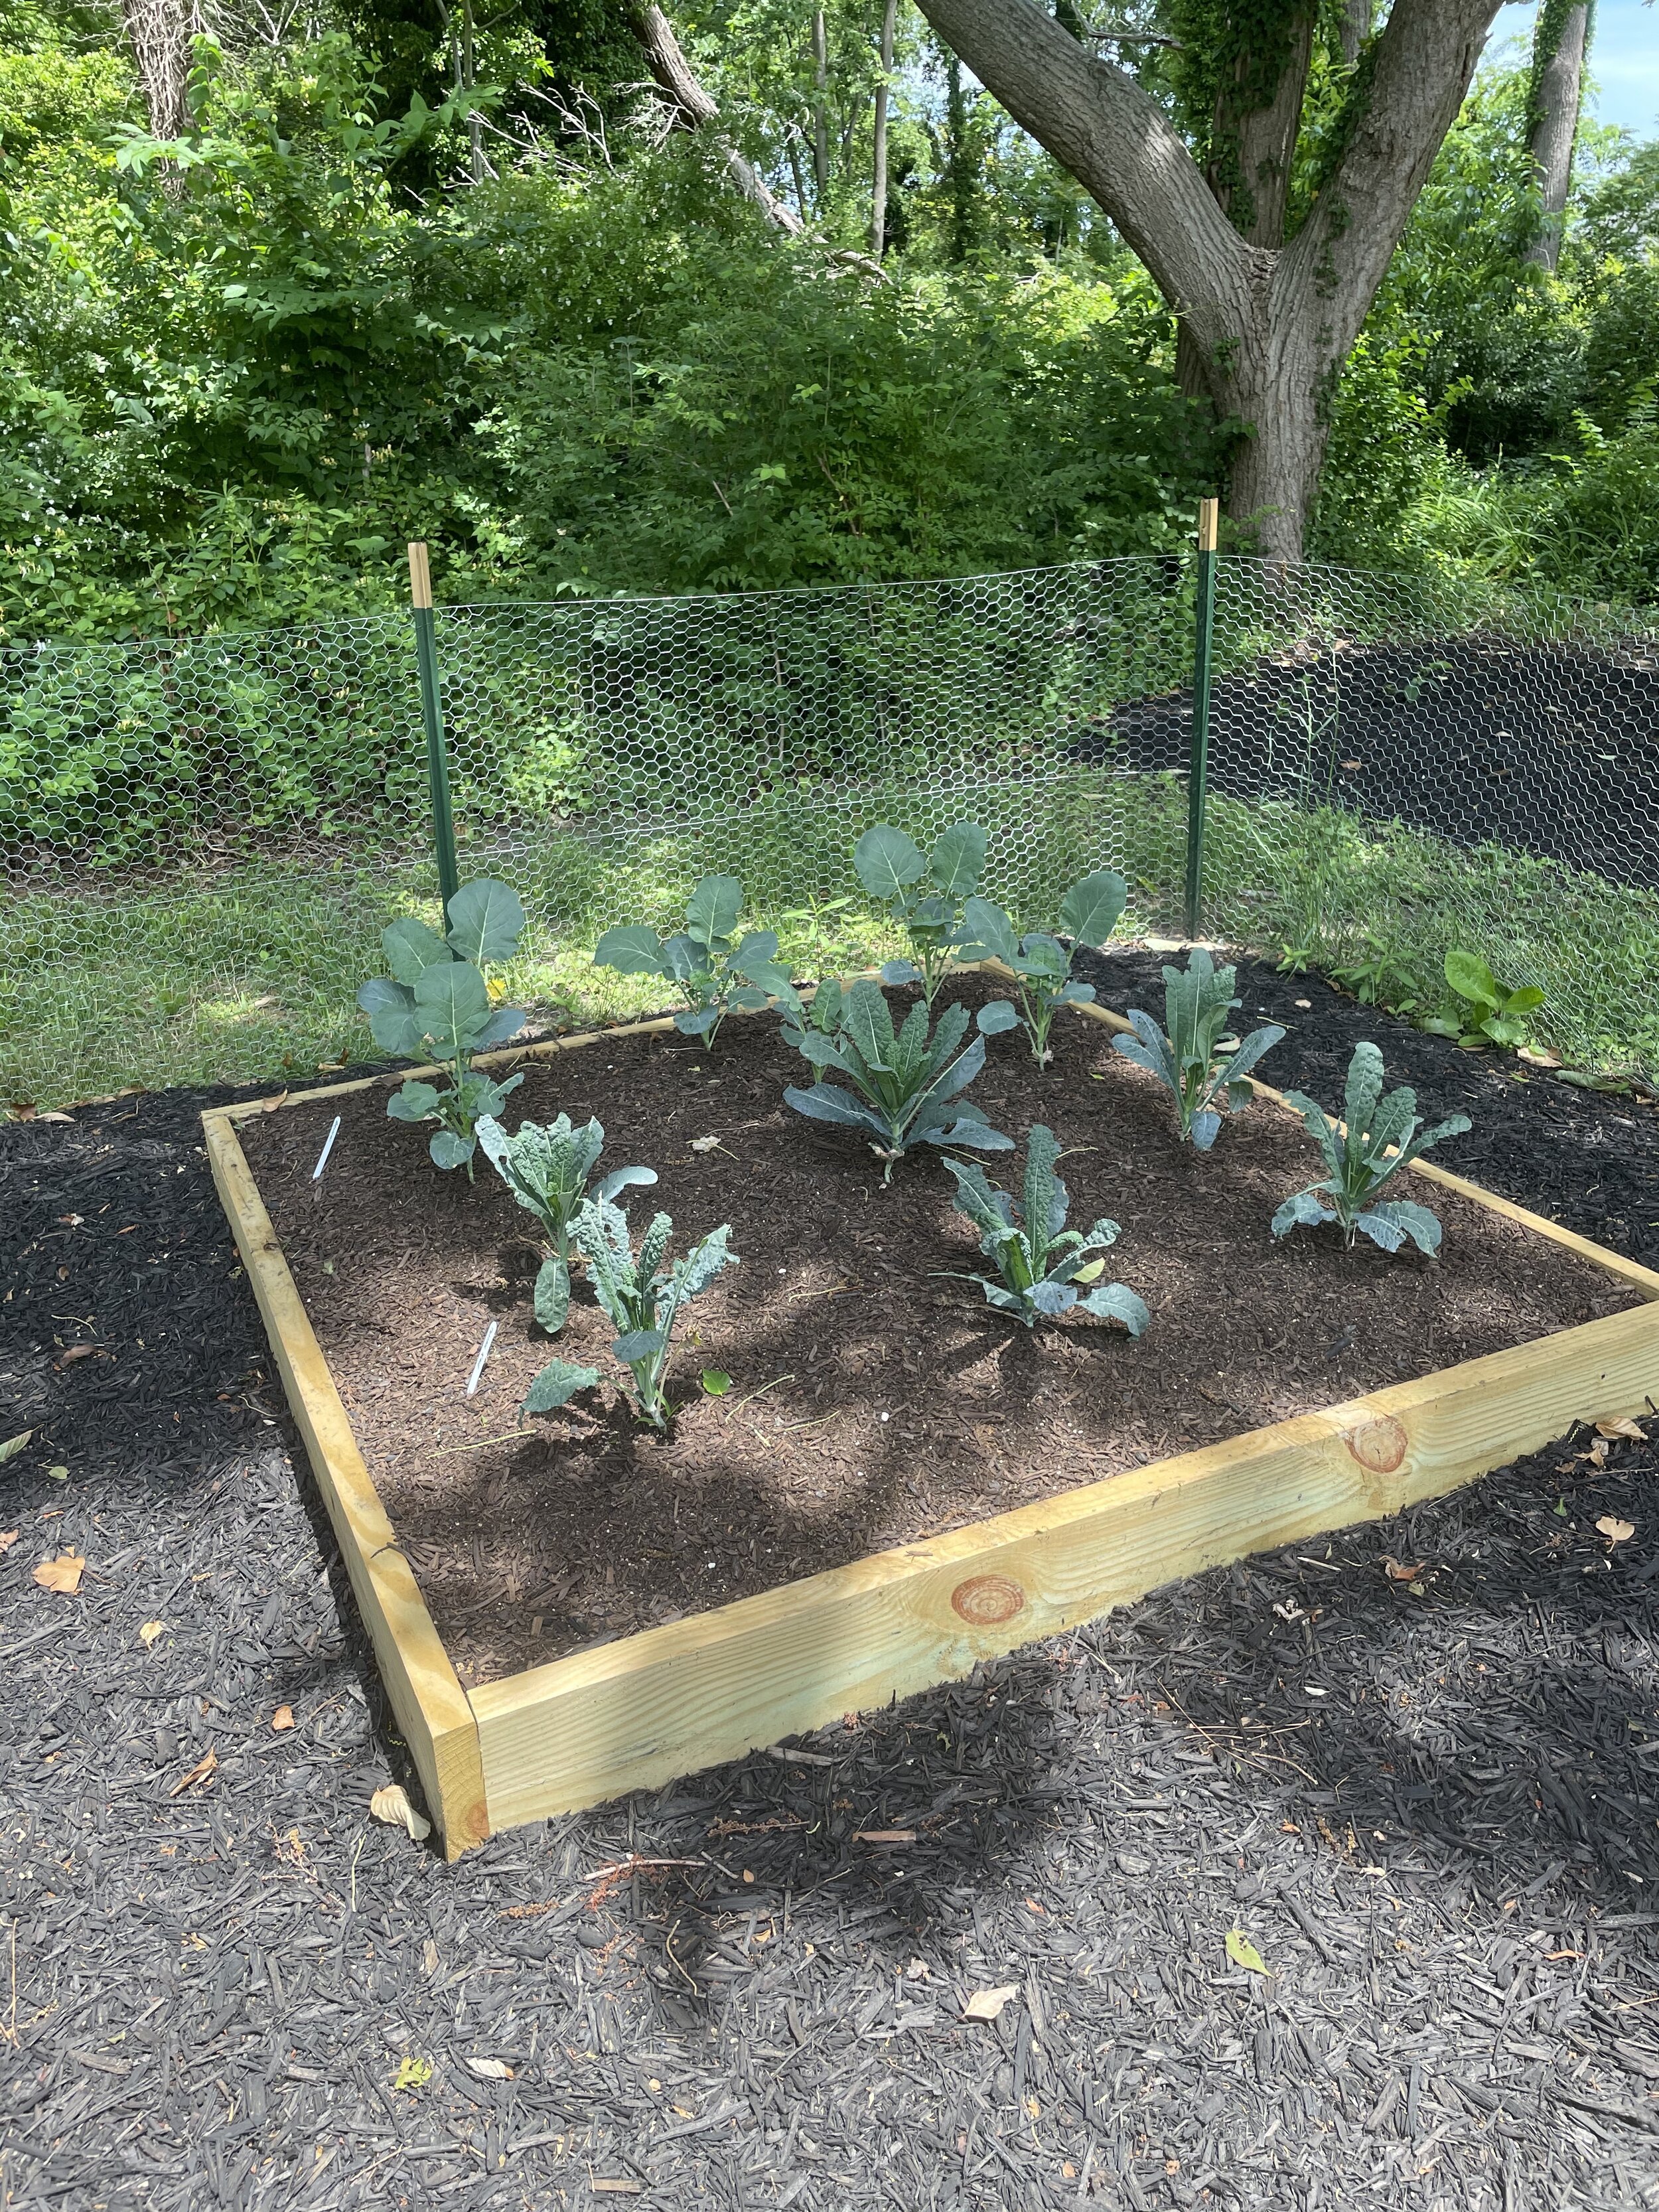
Our four raised beds are split up into categories: tomatoes, broccoli & kale, peppers & eggplant, and cucumbers & zucchini. Chesapeake Heirlooms has such an amazing variety of plants, and we got a few different types of tomatoes and peppers to see what would grow best and thrive in this environment. Below, pictures from the day all of the plants went into the raised beds (May 13th, 2021), and from yesterday (June 2nd, 2021) showing a few weeks of growth. We can’t wait to see how our garden looks in another month!
What have you planted in your summer garden? Let us know in the comments down below!